Key Points:
- It is necessary to properly identify the terminals or wires, before connecting the switch and the LEDs.
- There are pros as well as cons to connecting multiple LEDs with only one switch.
- It is strictly advised to check the electrical ratings of the LEDs and the power supply to see if they are compatible before the connection is made.
The task of flipping ten switches for ten different LEDs can seem like a very daunting task. You might be wondering about how to connect multiple led lights to one switch and if it is possible or not.
Yes, it is completely possible to connect multiple LEDs to one switch. There are several methods such as, daisy chaining light fixtures, home run switch wiring etc. can be followed.
In this article, I will explain the step by step process on how to connect multiple led lights to one power source through a single switch. So, without further ado, let’s begin.

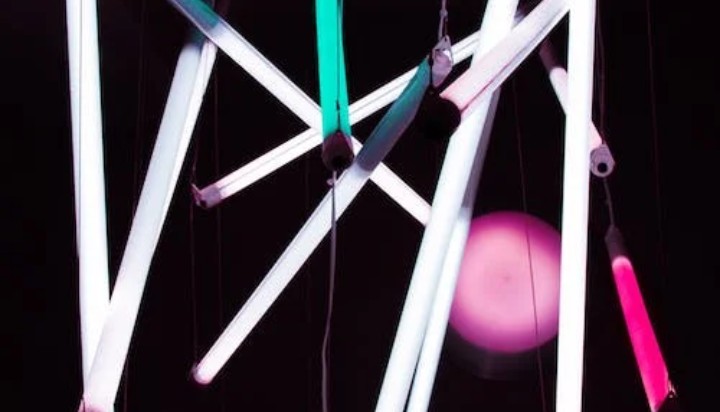
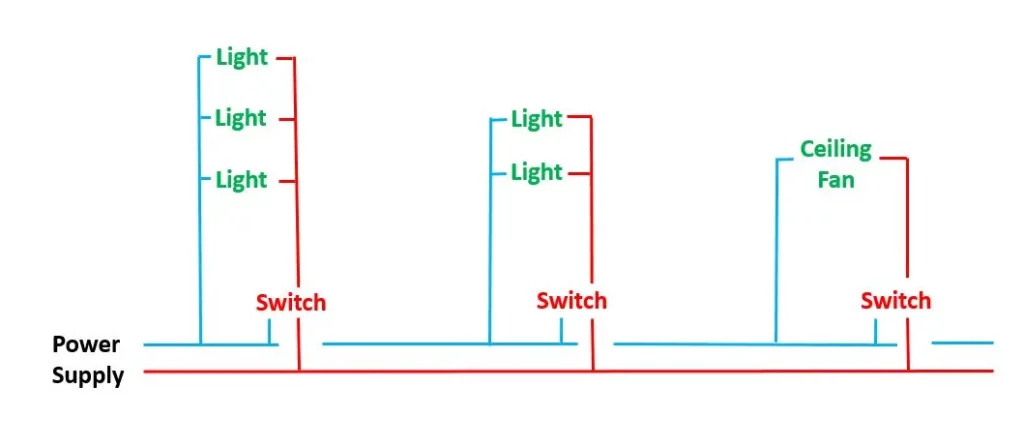
Daisy Chaining Multiple Fixtures
In electrical and electronic engineering, a daisy chain is a wiring scheme in which multiple devices are wired together in sequence or in a ring, similar to a garland of daisy flowers.
Parallel wiring is used to connect light fixtures in daisy-chaining. Standard electrical color-coding is also used, making the daisy-chaining method simple to use. It can also be used if you want to wire a light switch and outlet in same box.
If you are adding a single installation, you will want an additional cable that is compatible with your fixture. You will almost certainly run the line via the attic. The only thing left to do is connect the black cables to the other two black wires and then repeat the process with the ground and white wires.
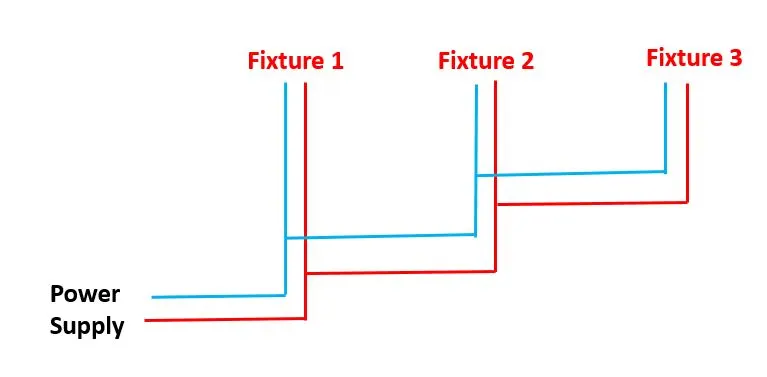
As the number of cables in each set increases from two to three, there may be a need for larger wire caps. If you’re wondering why do led lights stay on when switched off, it may be due to faulty wiring.
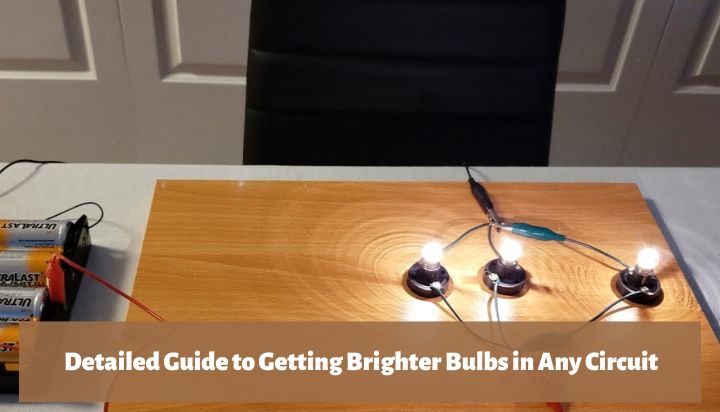
Connecting Multiple Led Lights to One Switch?
The steps needed to know how to connect multiple led lights to one switch includes choosing a circuit, proper wiring, and troubleshooting etc. The steps are given below with proper instructions.
You may also follow them if you wish to know how to connect multiple led strip lights to one remote, but there might be some moderations.
Steps to Connect Multiple LEDs to One Switch
Step 1: Choosing the appropriate circuit:
For connecting your LEDs, the series mode is the most basic circuit type. The current in this circuit takes a single path from start to finish.
The positive end of one LED is linked to the negative end of the next, and the series continues to both ends of the LED splitter, which is then plugged into the main electrical outlet on the wall.
Step 2: Connecting the LEDs together:
You’ll need to decide what shape you want the lights to take. The pattern you select will most likely be influenced by the area or item you want to illuminate.
Connect the anode of the first strip to the cathode of the next until you’ve used up all of the strips you’ve purchased.
Connect the ends of the series of strips to the 2.1 mm female connector that comes with the gear before connecting it to its male counterpart for powering.
Step 3: Checking voltage and power requirements:
Check the power rating of the LEDs before connecting them to a power supply. The net amount of power required is the total of the voltages required by each strip in the series.
Avoid lowering the quality of the light output, ensure that the power output is adequate to power all of the strips. If the power outlet is too powerful, your strips may be destroyed and become inoperable.
Step 4: Surveying the placement:
It is desirable to put the power supply as close to the position of the strips as feasible to make connections easy and avoid using too much cable.
The single power source’s main purpose is to avoid an unsightly tangle of cords around the house. Locating the nearest power source results in a shorter connection that is less likely to trip.
Step 5: Verifying the connections:
Inspect each of your LEDs for aesthetic defects that could signal an issue with their overall design. If you’ve done any soldering, make sure the solder is firm and solid to ensure a strong bond.
Step 6: Connecting to a power source:
When you are absolutely positive that your joints are fault-free, you can consider plugging in. However, before you connect, double-check that all of your devices are properly positioned.
Connect the female half to the male half to see if the strips light up. If your connections are good and all of your electronics are in working order, the LEDs should light up beautifully.
After the LEDs have flashed beautifully, you can either switch them off and wait for the big day, or you can leave them on all night.
However, if you’re wondering why are half led strip lights not working, the reason may be a broken wire, or an LED bulb is broken or out of the socket.
Summary
Throughout this article, I have discussed all of the steps necessary to know how to connect multiple led lights to one switch. The processes have been broken out in depth so that you may do this on your own.
However, just like any electrical job, proceed with extreme caution and take all necessary safety precautions before beginning.