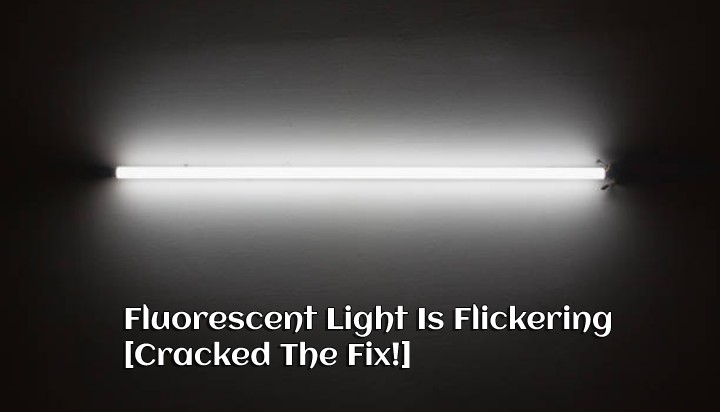
It gets hard to see the interior room if the fluorescent bulb flickers. And finally, I find the solution to this error.
To troubleshoot the fluorescent light flickering issue, you’ll need to locate the causes and then try out one of the given fixes. This includes:
- Replace ballast.
- Connect loosen up wires.
- Clean the bulb.
- Install a new starter.
- Check the voltage level.
- Replace the bulb.
In this guide, I’ll explain the procedure of each method mentioned in detail and show the causes too. Stay Tune Till The End!
Understanding Fluorescent Light Flickering
The flickering of fluorescent light is a common issue that occurs when the ionization of low-pressure gasses can’t go smoothly into the luminous plasma.
For that, the ballast transformer prevents this kind of issue by helping the electrical current flow through the plasma and explode the tube so that the ionization of low-pressure gasses passes.
Other than this component, the starter and wiring of light also help the fluorescent light to work well without facing the distraction during the current flowing through the tube (when you turn on the switch).
When one of these components gets bad, you’ll find the issue of flickering. Like the LED lights glow dim when switched off, the fluorescent bulbs can get dimmed after turning off during flicker.
Why Is My Fluorescent Light Flickering?
Depending on the situation, you can easily learn the causes of the fluorescent light flickering issue. Let me show you some of these:
1. Defective Ballast
If the fluorescent light not working properly and sometimes flicker even after changing the bulb, it means the ballast is the culprit. In that case, the flickering rate is both rapid and slow.
2. Loosen Up Wires
If the fluorescent light flickers but doesn’t turn on, it indicates the issue is with the wiring harness. Either the wires are burnt or loosely connected.
3. Dirty Light
The debris and powdery dust in the light’s edge can sometimes cause the fluorescent bulb to flicker temporarily.
It’s because the socket area provides the power to the light and if the dust gets stuck into that spot, your light won’t get the current and so flicker badly.
4. Bad Starter
When the fluorescent light not working but has power, it means the starter inside is either dead or defective. In that case, the bulb will continuously flicker on and off.
5. Low Line Voltage
A lot of times the fluorescent light can flicker continuously if the voltage seems low than 10% of the 120 volts. You need to test the voltage using the multimeter on the wires of the ballast and change it.
6. Defective Bulb
If the fluorescent bulb tends to flicker and won’t give enough lighting, it indicates the bulb is problematic.
How To Fix Fluorescent Light Flickering?
No matter if it’s about one or more bulbs, here are the solutions that you implement to end the flicker issue. Be sure to find the cause and then attempt a suitable method. Here are the details:
Method #1: Install A New Ballast
- Reach for the bulb and remove the case, bulb, and ballast cover using your hand.
- Separate the wires based on the color. You’ll find yellow, red, blue, white, and black wires.
- Take out the wire cap/tube and tape.
- Cut the wires using a wire cutter. Be sure to cut the wires of the power supply and stripe them with a wire stripper.
- Remove the ballast after detaching one visible screw using a screwdriver.
- Insert a new ballast and secure it by attaching the screw with the same tool.
- Use the wire cutter to cut the extra surface of wires in new ballast and strip them with the wire stripper.
- Matching the color, connect all the wires by twisting. Tape them and secure the open surface with wire caps/tubes.
- Insert the ballast cover, bulb, and case.
Method #2: Tighten Out The Loosen Up Wires
- Turn off the power supply.
- Take out the case, bulb, and ballast cover.
- Check the wiring harness and connection. If some of the wire seems not tightly connected, then twist them correctly.
- Put everything in the right spot.
- Check the switch by removing the plate and screws.
- Separate the wires and inspect the connection. If one or more wires seem not rightly fitted, twist them to connect.
- Align the switch inside the outlet box.
- Reinstall the screws and plate.
- Turn on the power supply.
Method #3: Clean The Fluorescent Light
Take a soft microfiber cloth and start wiping the light on the case. Then, remove the case and wipe the dust on the edges of the bulb.
If possible, detach the bulb and clean the socket area with a soft bristle brush. Reinstall the bulb and case to finish the cleaning session.
Method #4: Change The Starter
- Turn off the switch.
- Reach for the light fixture.
- Find the starter behind or mid-area of the light fixture.
- Take out the starter from the area.
- Install the new starter in the right spot.
- Test it out.
Method #5: Test The Voltage
Detach the case, bulb, and ballast cover from the lighting fixture. Then, remove all the wires using a wire cutter.
Test the voltage using the multimeter. For that, hold the black lead on the white wire and the red lead on the other colored wires (one after another).
Then, if the voltage seems to drop on one or more wires, change the ballast by following the steps of Method 1.
Method #6: Change The Bulb
- Take out the plastic case.
- Unplug the bulb on the lighting fixture.
- Install a new bulb after matching the dimension and wattage.
- Reinstall the plastic case.
Overall Thoughts
The fluorescent light flickering is easy to fix that might cost a little to get the new components from a nearby store. If you end up taking help from a professional, the you’ll need to count some extra money to spend. However, its best to get the problem fixed as soon as possible.
Pay attention to taking care of the fluorescent tube regularly. Hope you like this guide and its answer regarding the problem.
I Will See You In The Next Guide Soon!


![How to Reset Feit Smart Bulb & Reconnect? [Explained]](https://wiringsolver.com/wp-content/uploads/2023/01/How-to-Reset-Feit-Smart-Bulb.jpg)