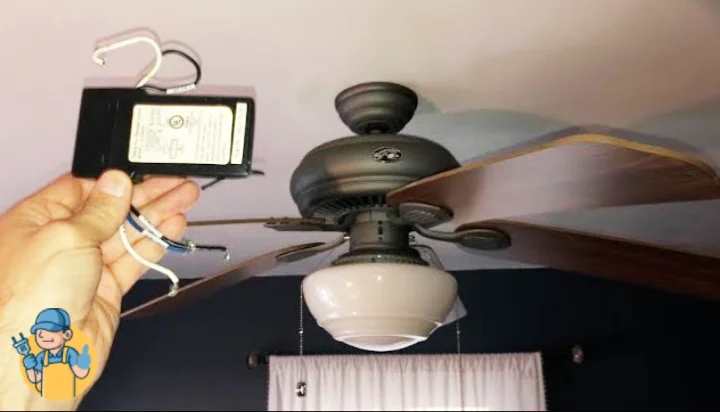
Recently, my Craftmade ceiling fan stopped working and it works to do a slow spin. It mostly happens due to faulty components or wires. You only need to locate the causes to solve the Craftmade ceiling fan not working issue.
To fix it, try the following methods:
- Reprogram the code in the wall and remote controls.
- Insert loosely connected wire of wall control.
- Tightly attach the wire of the ceiling fan.
- Replace the battery from the remote and wall controls.
- Install a new capacitor.
Without wasting time, I’ll share the causes and solutions in this guide so you can attempt them at home. Let’s Get Started!
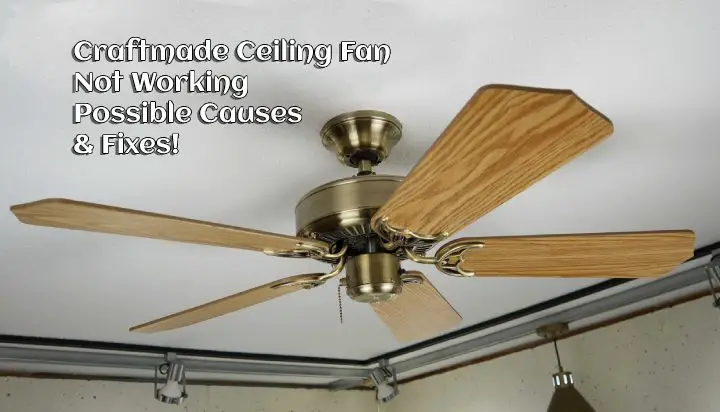
Find Out Why The Craftmade Ceiling Fan Not Working First
When the Craftmade ceiling fan has some internal error, it might not operate or show weird performance like slow spin. Here are a few reasons why it’s not working:
Cause #1: Wall & Remote Controls Code Not Activated
If the remote and wall controls code is not successfully activated during the setup, you’ll find the fan stuck while the motor makes noises.
Cause #2: Wall Control Wire Is Loosely Connected
The wiring of the wall control is loosened up or melted. Use the wall control and then the remote control to understand if the ceiling fan working or not. If the remote control turns on the fan decently, then the issue is with the wall control.
Cause #3: Ceiling Fan Wiring Is Loose Or Burnt
When the Craftmade ceiling fan wire gets burned, melt, or connect loosely, it might not operate. In that case, you won’t hear the motor buzzes but find the burnt smell or electrical shock.
Cause #4: Dead Battery On Wall Or Remove Control
Just like the Hunter fan remote not working issue, if the ceiling fan of Craftmade won’t operate using the remote or wall control, it’s possible that the battery inside them is dead.
And so, the devices don’t turn the fan on. Test the voltage using the voltmeter to understand whether the fan is okay or not.
Cause #5: Bad Capacitor In The Ceiling Fan
A lot of times the ceiling fan like Craftmade won’t work when the capacitor goes out of date. If that happens, the fan will make weird sounds and sometimes it’ll run at turtle speed. Just learn how to test a ceiling fan capacitor and try it.
Try These Craftmade Ceiling Fans Troubleshooting Methods
After learning the causes, it’s time to solve the bug that causes the Craftmade ceiling fan sick. Follow the given instructions based on the fixes:
Fix #1: Reset The Code Of The Wall & Remote Controls
- Remove the 4 screws from the top plate.
- Detach the faceplate of the wall control of the Craftmade ceiling fan.
- Turn the slider switch on the ON position to restore the electrical power.
- Within 1 minute of turning the slider switch on, you need to long-press the fan SET button on the wall control for 5 seconds. The light should blink twice.
- Now, turn the slider switch on to the OFF position. Let it sit there for 5 seconds then turn it on.
- Bring the remote control and detach the faceplate (black).
- Within 1 minute of restoring the power, long press the fan SET button on the handheld remote control. Be sure to press on it for 5 seconds and stop when the light blinks twice.
- Switch the wall control to the ON position to see if the fan working or not. In the same way, switch the fan at different fan speed buttons (I – VI) using the remote control to know if the fan operating properly.
- Put on the faceplate on the wall control and reinstall the screws on the top plate.
- Reinstall the faceplate on the handheld remote control.
Fix #2: Connect The Wiring Harness Of The Wall Control
- Take out the plate from the wall control.
- Detach 4 screws on the top plate with a screwdriver.
- Carefully separate the wall control from the outlet box.
- You’ll notice wires in between the outlet box and the wall control. In most cases, there’ll be 2 black and one green wires.
- If they are secured using tape, remove the tape. Be sure to turn off the power supply to avoid catching a shock.
- Take out the wire cover and inspect all the wires. If they seem not tightly attached, then take a pair of pliers to connect them decently. You can also use your hand if the power supply is turned off.
- Put everything back in place and turn on the fan using the wall connector.
Fix #3: Connect The Wire Of The Fan Properly
- Take a screwdriver to remove the 2 screws at the top canopy.
- Decrease the canopy at the end of the rod to discover the wires.
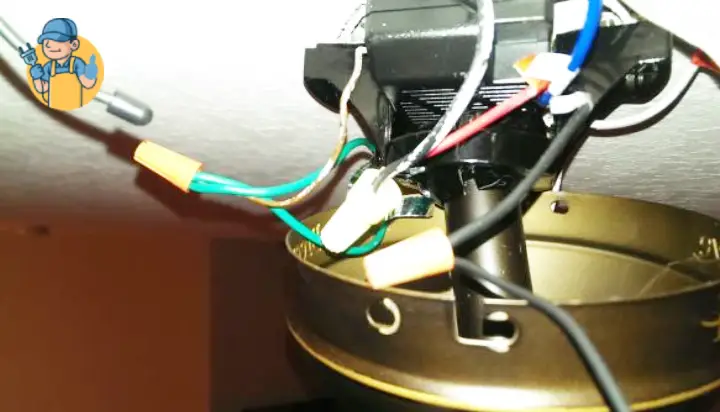
- You’ll find 3 joint wires which are secured in wire cover and tape. In most cases, the ceiling fan of Craftmade contains black, white, and green/bare wires.
- Remove the tape and wire cover of each wire to test the wiring connection.
- If some of them have burnt or melted, you need to cut the wire to get a fresh surface and strip off the cover. Then, connect the fresh sides of each wire carefully and tape them. Secure the open surface with wire covers.
- If some wires seem loosely connected, then connect them tightly.
- Secure them with tape and wire covers.
- Hide the wires by putting the top canopy on the top surface.
- Secure the canopy by inserting the 2 screws with a screwdriver.
- Test if the fan works or not.
Fix #4: Change The Battery From Wall Control
- Remove the faceplate from the wall control (not the top plate that’s secured with screws).
- In the wall control’s bottom area, you’ll find the 12V battery.
- Remove the battery and insert a new one that matches the model.
- Put on the faceplate using a little pressure.
- Check if the fan works or not.
Fix #5: Change The Battery From Remote Control
- Grab the remote and remove the faceplate (not the top cover) using a pry bar.
- Remove the 12V battery that can be seen in the battery compartment.
- Insert the new battery and put it on the faceplate.
- Test it out.
Pro Tip: Check the red light on the remote control to know if the battery is good or not.
Fix #6: Change The Capacitor Of The Fan
The process of changing the Craftmade ceiling fan capacitor is similar to the Hunter ceiling fan capacitor replacement. I’ll briefly explain the steps below:
- Remove the screws, blades, and other components to reach the motor housing part.
- After that, locate the capacitor and separate it.
- Remove all the wire covers and tape.
- Cut the wires using a wire cutter and stripe the cover using a stripper.
- Install new capacitor.
- Connect the wires by matching the wire shade. If it contains a speed switch, then insert the 3 wires on the belonging terminals.
- Put everything back in place.
- Turn on the fan and check if it is working or not.
Overall Thoughts
All you need to do is to find the why the Craftmade ceiling fan not working and then attempt the solution according to that cause.
In some troubleshooting methods, you might need to purchase parts like a capacitor, 12V batteries, and so on. All of these won’t cost much and you should be able to fix the issues.
Don’t hesitate to contact Craftmade customer service if things still don’t work your way. It’s best to let the professionals handle anything that could be too severe.
I will see you in my next guide, take care!

![Fanimation Slinger V2 Remote Troubleshooting [Solved]](https://wiringsolver.com/wp-content/uploads/2022/10/Troubleshooting-a-Fanimation-Slinger-V2-Remote.jpg)
