To get air from the ceiling fan, the capacitor does a great job. But this can fail or doesn’t operate after some while. So, how to tell if ceiling fan capacitor is bad?
By seeing the common signs, you can easily guess. Like:
- The fan runs slowly at the highest speed level.
- Doesn’t spin well even if changing the speed.
- The lighting system seems okay but the fan refuses to run.
- The motor makes sounds and slow running of fan.
- Burnt or melting smell.
- The electrical shock on the wiring or circuit.
To know more symptoms of the bad capacitor, continue reading and know more about this topic!
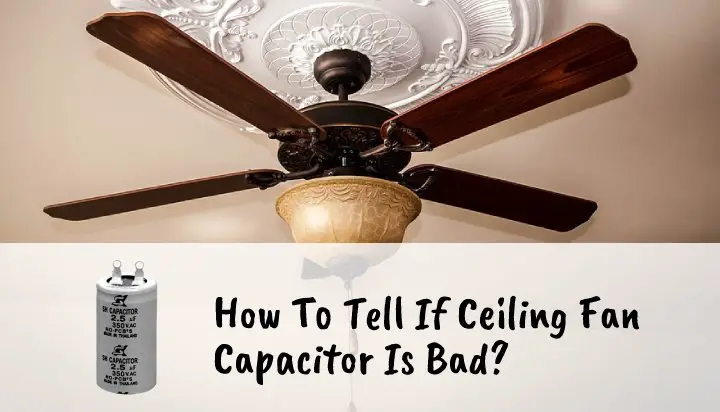
Exactly How To Tell If Ceiling Fan Capacitor Is Bad!
Before troubleshooting Craftmade ceiling fan or others, you should know the signs that show when the ceiling fan goes bad. There are a few indications of a bad capacitor in a ceiling fan. These includes:
- The ceiling fan will run slowly even if it’s at max speed level.
- The fan won’t operate but weakly spins as if it is running by hand rotation.
- When you adjust the speed at different levels, the fan blades won’t rotate like they used to run.
- Sometimes the ceiling fan will make a noise of soft rotation.
- The fan stopped working but the lights beam.
- The fan blade turns as if it can be blocked by using a hand while the motor buzzes.
- While the fan rotating, you’ll find a burning or melting smell from the capacitor.
- In some cases, the ceiling fan will show electrical shock at the wiring or circuit side due to capacitor failure.
Troubleshoot Faulty Ceiling Fan Capacitor
To start the process, you’ll need to grab all the given tools. The fixing method is similar like replacing a Hunter ceiling fan capacitor. Let me share the instructions below in a simple way:
Required Tools
- Screwdriver or a pair of pliers.
- Pic or pointer tool.
- Wire nuts.
- Wire cutters.
- Wire strippers.
- Black tape.
- Wire tubes.
Step #1: Turn Off The Power Supply
Locate the power supply in the room where the ceiling fan contains. Then, turn off the power supply by opening the breakers at the panel or just remove the fuse.
Step #2: Remove The Ceiling Fan
Insert a stepladder directly under the ceiling fan. Get to the top area so that you can reach the fan. Remove the 1 – 5 screws on the bottom canopy using a screwdriver.
Lift the canopy at the top to discover the motor area. You’ll find a large nut and screw that hold the fan on the down rod. Take out the nut as well as the screw and carefully place the fan on the floor.
Step #3: Detach 3 – 4 Blades
All the blades of the ceiling fan contain 2 screws attached to the motor housing part. Take out the 2 screws on each blade using the screwdriver.
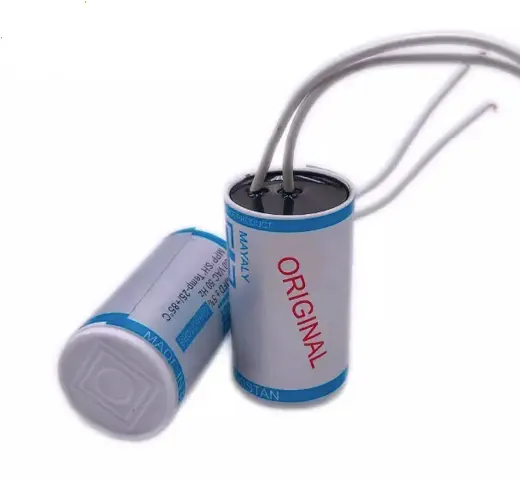
Step #4: Take Out The Capacitor
Take the motor housing in a stand or on a flat surface like a table. Unscrew the grommet on the side to detach the speed switch.
Grab the pic or pointed screw tool on the opening and press the flap down to unplug the wire. Do the same thing on the other sides to detach the cables.
Get the wire cutter to cut the red and gray wires on the 3-in-one capacitor or rip the red and white wires on the starting capacitor. After that, you are free to detach the capacitor from the motor housing.
Step #5: Install A New Capacitor
The strip of the wires that you have cut before using a wire stripper or a pair of pliers. To install the capacitor, it’ll be a different procedure for 3-in-one and starting capacitors.
Now, if your one is a 3-in-one capacitor, then follow the given steps:
- Connect the red wire of the new capacitor to the red wire. Insert the wire safety tube and secure the open wire with tape.
- Attach the gray wire of the new capacitor to the gray wire. Cover the open wire by using the wire tube and tape it.
- Now, you are left with 3 wires purple, brown, and gray. Insert purple wire for the upper pin, brown wire for the right pin (containing number 2), and gray wire for the left pin (containing number 1). Place them on the speed switch by matching the terminals.
- Put all the parts back in place and reinstall the ceiling fan at the top.
But, if your ceiling fan contains starting capacitor, then try the given directions:
- Insert the white wire of the new capacitor on the white wire. Put on the wire tube and tape it.
- Similarly, attach the red wire of the new capacitor to the red wire. Secure it with a wire tube and tape it.
- Do the opposite steps to reinstall the ceiling fan on top.
What Happens When A Fan Capacitor Goes Bad?
The simple answer is the fan capacitor won’t operate if it goes bad. It probably shows some early or later indications.
In some cases, you’re able to hold the fan blade with your hand or stick as the fan runs slowly by making no air. That’s what happens if ceiling fan capacitor fails
You can grab a voltmeter to test the voltage to understand the capacitor state. If the voltage seems okay while the fan running like a turtle, then it’s no doubt that the capacitor is dead.
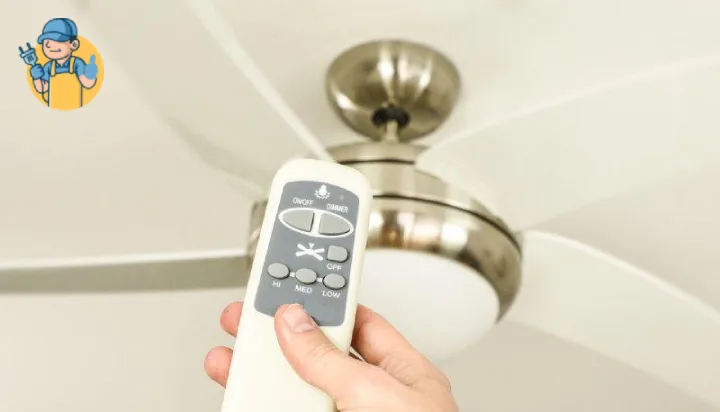
Be sure to check the remote’s condition before testing the voltage as sometimes this can cause the fan to not speed up. Learn how to fix the remove like the Hunter fan remote not working to avoid that kind of situation.
How Do I Test A Fan Capacitor?
To know if the capacitor is bad or not, testing its voltage is a great way. After getting the voltmeter, here’s how to test a ceiling fan capacitor:
- Remove the capacitor from the ceiling fan.
- Use the positive (red) tester and negative (black) tester on different wires of the capacitor (2 at a time) to understand the shifting of voltage.
- If the voltage seems to be less on 2 specific cables, then change the cable with another to know which one is faulty.
Wrapping Up
Seeing the symptoms and testing the wires are essentials you must learn. These are exactly how to tell if ceiling fan capacitor is bad. You should observe and then take the needed action as recommended.
For your information, the ceiling fan capacitor typically lasts for up to 10 to 20 years. After this expiration period, you need to replace it.
Hope this piece of information helps. I Will Be Back Again, Take Care!
![Hampton Bay Remote Ceiling Fan Troubleshooting [Solved]](https://wiringsolver.com/wp-content/uploads/2022/10/Troubleshooting-a-Hampton-Bay-Remote-Ceiling-Fan.jpg)
![Fanimation Slinger V2 Remote Troubleshooting [Solved]](https://wiringsolver.com/wp-content/uploads/2022/10/Troubleshooting-a-Fanimation-Slinger-V2-Remote.jpg)