Key Points:
- Never try to take down a moving fan, always make sure to shut it off completely.
- Make sure to disconnect the wiring from the fan and confirm that they have no power flowing through them. Use wire caps or electrical tape to cover the wire contacts.
- Remove any light bulbs, shades that are attached to the fan beforehand to make it easier to access the screws as well as making the fan less bulky.
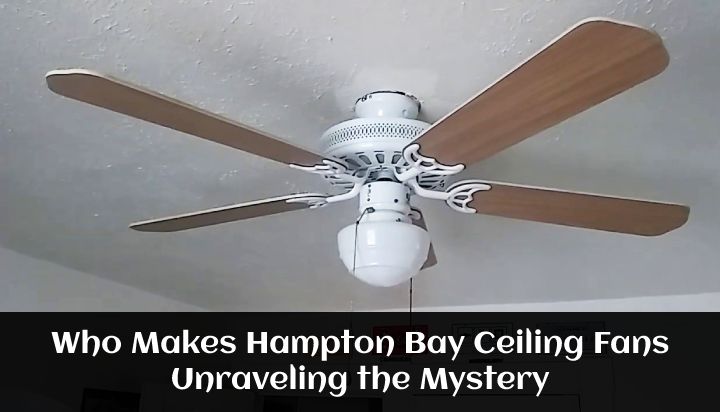
Ceiling fans often get dirty because they accumulate a lot of dust while running for a long time. Or you might need to fix the ceiling fan because it has started malfunctioning, or maybe you want to replace it. So, you have to know how to take down a hunter ceiling fan.
The steps to take down a Hunter ceiling fan are simple. The steps include turning the breaker off, removing accessories and equipment, removing the fan blades and canopy trim ring, disconnecting the wiring and finally unscrewing the fan.
In this article, I will discuss thoroughly about the steps which you need to follow to take down a Hunter ceiling fan as well as teach you how to remove a hunter ceiling fan with no screws.
How To Take Down A Hunter Ceiling Fan:
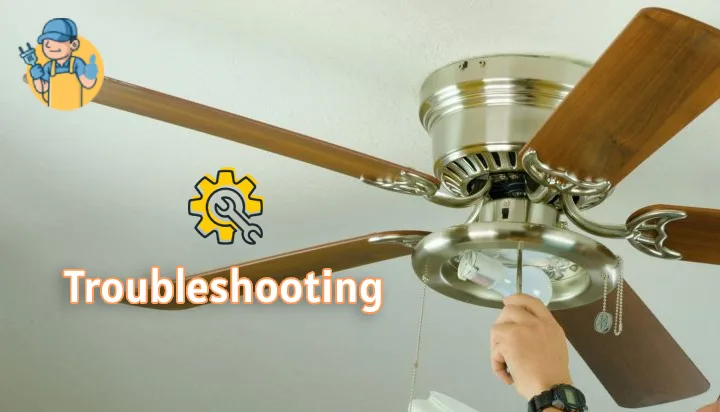
Often it’s necessary to take down a ceiling fan to clean, fix or operate on it. Thus, this guide will be helpful to know how to take down a fan properly.
1. Turning the Circuit Breaker Off
The first and most important step to remove a ceiling fan is to disconnect it from any power source. You should never remove a ceiling fan with live wires dangling about as it could lead to serious accidents and electrical hazards.
How to turn off the circuit breaker?
- Locate the main panel of your household.
- Open the main breaker panel and identify the circuit breaker which supplies power to the ceiling fan you are about to remove.
- Flip the switch of the breaker.
- Check the LED indicator of the fan (if any) to ensure that the power has stopped flowing.
- If there are no indications, you can simply press the fan switch to check if it turns on or not. If it does not turn on, then you have successfully turned off the power.
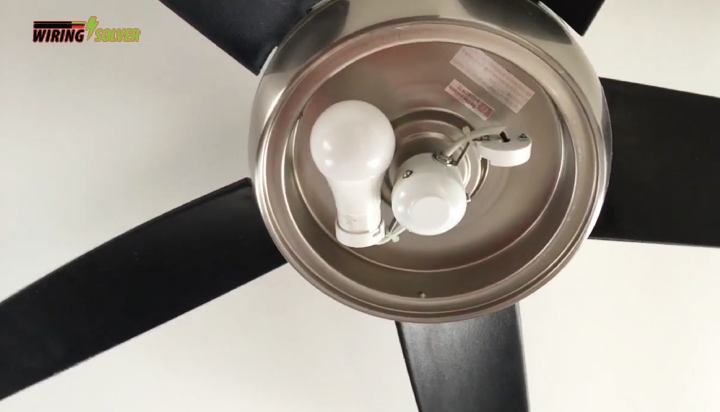
2. Removing Accessories and Equipment from the Fan
The light bulbs and shades should be removed from the ceiling fan beforehand, to prevent them from breaking as well as making the removal procedure simpler for the owner.
It also provides you with ample access to the screws which hold the ceiling fan in place.
How to remove accessories?
- Make sure that the ceiling fan is turned off completely.
- Set up a ladder or a stool, that elevates you to the necessary height to proceed with the operations at ease.
- Remove the bulb to prevent any damage to it. Simply unscrew them and place them on a towel or soft material somewhere.
- You may use gloves as often times these bulbs are pretty heated due to their use.
- The ceiling fan’s fixture, or the primary housing where the wire is maintained, will be held together by a few visible screws. With a screwdriver, remove these screws to release the fixture and allow access to the cables.
- Save the screws and the detachable fixture component until you’re ready to rejoin them.
- On the exterior of the fixture, look for a little nut. Unscrew this nut completely to gain access to the ceiling fan pull chain switch. Keep the nut somewhere secure since you’ll need it to reinstall the switch.
If you have an issue of a Hunter fan remote not working, you have to check for dead batteries. If they do not work after replacing the batteries, you might have to get another one.
3. Removing the Fan Blades and Trim Ring
In order to make the fan less bulky and to make it easier to work with, you have to remove the fan blades beforehand along with the canopy trim ring. How do you remove a Hunter ceiling fan trim ring? Steps are given below.
How to remove the ceiling fan blades?
- Use a tool or ladder to gain altitude to reach the ceiling fan.
- The blades are secured to the main body of the fan with screws. Identify the screws and remove them with the appropriate screwdriver.
- Set the fan blades safely aside as they can be quite sharp.
- Store the screws in a safe place as they will be required to put the fan blades back on.
- You may use thick gloves for safety because the blades can be sharp and might cut your fingers.
- To unlock the blade on models with the Easy Lock system, open the locking mechanism on the blade iron and turn it counterclockwise.
How to remove the trim ring?
- Locate the canopy trim ring which covers the top part of the canopy.
- Squeeze the ring firmly with both of your fingers.
- Keep pulling firmly downward along various points.
- Apply pressure until the ring pops off.
- If your fan model has multiple canopy trim rings, apply the same method for removing all of the trim rings.
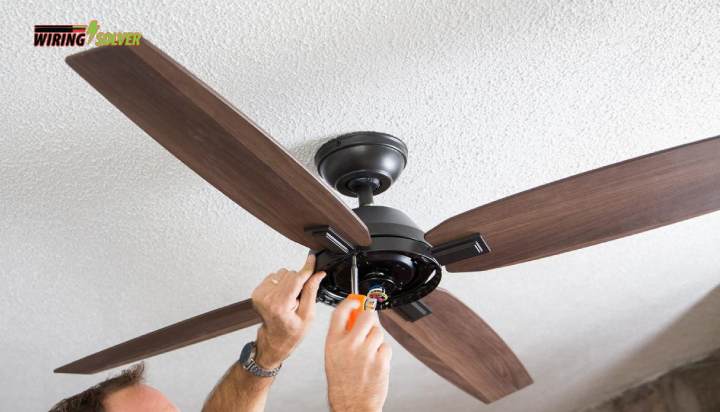
4. Disconnecting the Wires from the Ceiling Fan
Before taking down the ceiling fan from the ceiling, you must disconnect the wires connected to it. It is a must step for knowing how to take down a hunter ceiling fan as taking down the fan while being connected to the wire can damage the wiring as well as the fan.
How to disconnect the wires from the fan?
- After removing all the covers and fixtures, you will gain access to the wires.
- First make sure that there is no electricity in the wires.
- Use a voltmeter or a non-contact voltmeter to make sure.
- Use wire cutters or pliers to cut the wires.
- Apply electrical tape or wire caps to the stripped wires, so that they do not interact with the other elements and cause any sort of electrical hazards.
If you were wondering, where does the blue wire go on a ceiling fan, the placement of the blue wire depends on whether you plan on having your ceiling fan controlled by one or two switches.
5. Unscrewing the Ceiling Fan
The final step to take down a hunter ceiling fan is to unscrew it from the hook that keeps it stuck to the ceiling. However, if you are planning on learning how to install a hunter ceiling fan with remote, there are other intermediate steps to taking it down.
How to unscrew the fan?
- Using the tabbed screw as a pivot, swing the canopy away from the mounting bracket.
- Unhook the installation-safety J-hook that allows the canopy and motor to hang freely from the mounting bracket loop, if applicable.
- Remove the last screw that secures the canopy to the mounting bracket.
- Remove the ceiling plate from the outlet box and detach the mounting bracket from the ceiling plate.
Summary
In this article, I’ve discussed the steps that are needed for knowing how to take down a hunter ceiling fan. By following this step by step guide, you will find it a pretty simple task which you can do yourself.
However, before working with electricity and sharp edges of the fan blades, make sure to wear appropriate safety gear to keep you and your appliances safe from any sort of accidents or hazards.
![How to Make Ceiling Fan Light Brighter? [Complete Guide]](https://wiringsolver.com/wp-content/uploads/2021/09/How-to-Make-Ceiling-Fan-Light-Brighter-Solved.webp)