A ceiling fan with a light fixture is a convenient addition to any room. The ability to change the light bulb in your Hampton Bay ceiling fan is a simple and straightforward task that can be completed in just a few minutes.
First, you should gather the necessary equipment. After which, the method may vary based on the type of ceiling fan fixture you have. Methods differ between an open shade and a closed (globe) shade ceiling fan as they have different mechanisms.
With this guide, you will be able to change the light bulb in your Hampton Bay ceiling fan with ease and confidence. So, let’s get started!
What You Will Need for the Light Bulb Replacement
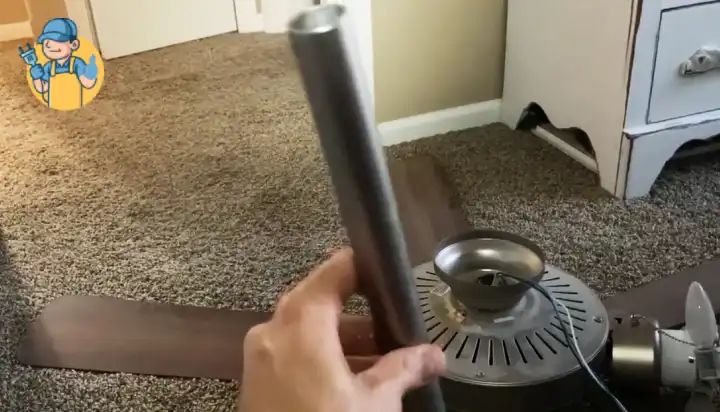
To successfully change the light bulb from your Hampton Bay ceiling fans, you will need to have some items right at your disposal.
Firstly, you will need a ladder so you can reach the fan and change the lights. You must ensure that the ladder is stable and can take your weight comfortably so you don’t fall and get injured.
If you don’t have a ladder, then you can use a tool that is high enough but make sure it’s sturdy.
When replacing the light bulbs, you will have to screw and unscrew some things, so having a good screwdriver is an absolute must.
For safety reasons, you should also wear gloves throughout the process. The gloves will protect your hands from any cuts in case the light bulb or cover breaks.
Lastly, keep your new light fixtures right by your side to make the process quicker and easier.
How to Change Light Bulb in Hampton Bay Ceiling Fan with Open Shade?
Replacing light bulbs of the Hampton Bay ceiling fan lights with open shade is very easy. You will have to follow only a few steps to complete the job, and the best thing is it will take you very little time.
Step 1: Turn Off the Fan and the Lights
When you are working on any electrical appliances, you should always turn the power off before you start getting to work.
Not turning the power off will put you at risk of getting an electric shock which could be very dangerous. You could watch a guide on how do you reset a ceiling fan if you don’t know how to do it correctly.
Step 2: Set Your Ladder and Wear Your Gloves
As we have said before, you must use a sturdy ladder for this process. Set the ladder in a position where you think it will be easy for you to get hold of the light bulbs on the ceiling fan.
Stand on the step that will put you at the right height for carrying out the replacement comfortably.
Don’t forget to wear your gloves before you begin with the replacement. You don’t want chunks of broken glass to cut into your skin.
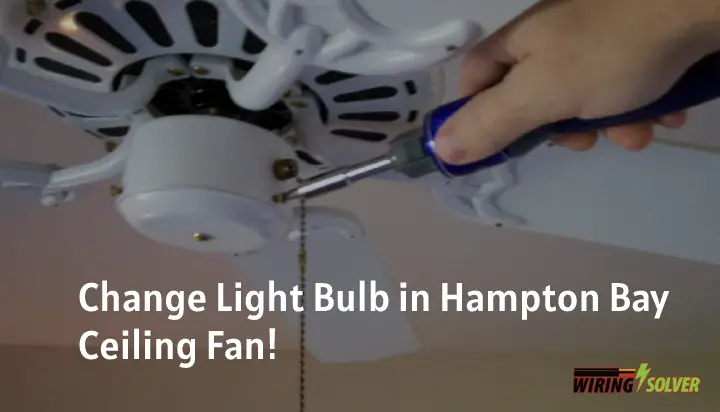
Step 3: Remove the Dead Bulb
Since in an open shade, you can easily access the light bulb, you don’t have to remove the shade.
Firstly, you will hold the dead bulb and start twisting it slowly to the left, and it should easily come out. Do not put a lot of pressure when you are rotating the bulb, or else it might break whilst it is inside the light fixture.
Step 4: Install the New Light Bulb

After you have removed the dead bulb, remove any dust that might be in the fixture. Then, take your new light bulb and start rotating it gently to the left till it feels stable and secure. Then you are pretty much done.
Step 5: Switch on the Lights to See if they Work
For the last step, just switch on the ceiling fan lights to see if they are working properly or not. If the lights turn on and seem fine, then you’ve done the job successfully!
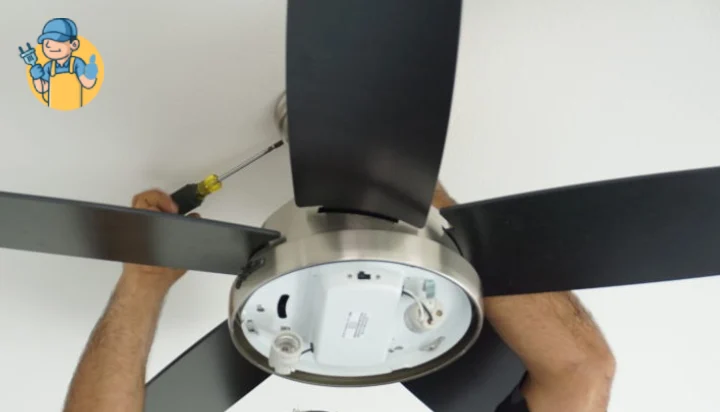
How to Change Light Bulbs in Ceiling Fan Hampton Bay with a Closed (Globe) Shade?
All the steps of replacing the light bulbs for the open shade apply to the closed shade as well. However, there are a few extra steps that you have to take with the closed shade because of the cover of the light fixture.
So, you could think of this section as a tutorial on Hampton Bay ceiling fan light cover replacement. If you know how to remove LED flush mount ceiling lights, then this will be easier for you.
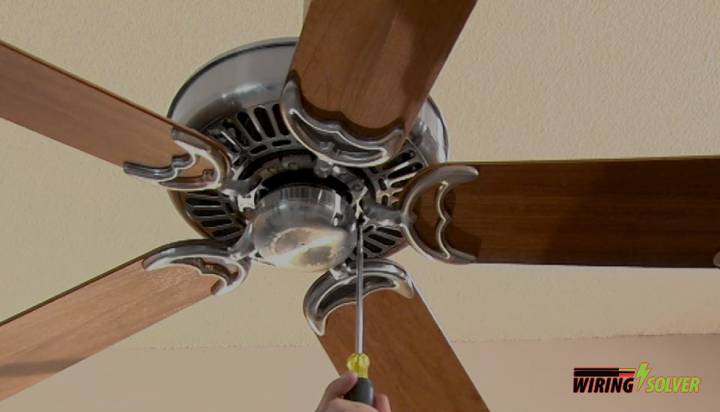
With the closed shade, after you get up on your ladder, you will have to take your screwdriver and unscrew the screws that hold the cover in place.
When you are removing the screws, keep one hand underneath the cover so it doesn’t fall, or you could also get someone to help you out.
Then replace the light bulbs as you’ve seen in steps 3 and 4. Then, take a dry and clean towel to take off any dust from the light cover.
After that, put the light cover in place and screw the screws back on tightly. Lastly, turn the lights on to see if they are working.
How to Choose the Right Bulb for a Hampton Bay Ceiling Fan?
When it comes to choosing the right light bulb for your Hampton Bay ceiling fan, there are several factors to consider to ensure a safe and successful installation. Some of the key tips to keep in mind include:
Bulb type:
Make sure to choose a bulb type that is compatible with your ceiling fan’s light fixture. Common types include LED, incandescent, and CFL.
Wattage:
Choose a bulb with the correct wattage for your light fixture. Overloading the fixture with a bulb that is too powerful can cause damage to the fixture or the fan itself.
Brightness:
Consider the amount of light you want in your room. LED bulbs are available in various brightness levels, so you can choose the right one for your needs.
Color temperature:
LED bulbs come in different color temperatures, ranging from warm white to cool white. Choose the right color temperature to create the desired mood in your room.
Dimming compatibility:
If you have a dimmer switch, make sure to choose a bulb that is compatible with it. Not all bulbs are compatible with dimmer switches, so be sure to check the specifications before purchasing.
By following these tips, you can choose the right light bulb for your Hampton Bay ceiling fan and enjoy bright and efficient lighting for years to come.
Summary
This article should have given you a fully comprehensible guide on how to change the light bulb in your Hampton Bay ceiling fan. If however, you have any confusion, feel free to refer to the manual provided with your fan.
As different fans may have different methods for changing the ceiling fan lights. Make sure to take necessary safety measures before proceeding with the task.