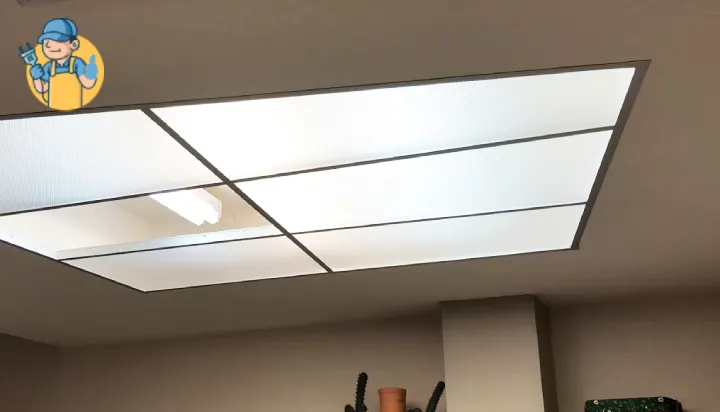
Plastic ceiling light panels are a popular choice for homes and commercial spaces. However, when it comes to installing them, it becomes necessary to cut the panels to fit the desired size and shape of the ceiling.
It is essential to gather the tools for the task. As without them, you will not be able to cut the panels. You need to properly measure and mark the segment to be cut, and then begin cutting the panel. And finally smooth the rough edges.
Whether you are a DIY enthusiast or a professional, this article will provide you with the tips and tricks you need to know to make the job easier and ensure the perfect finish.
How to Prepare the Plastic Ceiling Light Panel for Cutting?
Before cutting the plastic ceiling light panel, it is important to prepare it properly to ensure a clean and precise cut. Here are the steps to follow:
- Clean the surface of the panel thoroughly to remove any dirt, dust, or debris that could affect the accuracy of the cut.
- Secure the panel to a flat surface, such as a workbench or a table, using clamps or heavy-duty tape. This will prevent the panel from moving while you are cutting it.
- Measure and mark the desired size and shape of the cut on the panel using a straight edge and a pencil. It is important to double-check your measurements to ensure that the cut is accurate.
- Make sure the work area is well-lit and free from any obstacles that could interfere with your cutting process.
By following these simple steps, you will create a stable and secure environment for cutting the plastic ceiling light panel, which will lead to a clean and precise cut.
How to Cut the Plastic Ceiling Light Panels?
Here we will show how to cut plastic light cover sheets step-by-step. Follow these instructions carefully:
- Gather the necessary equipment. Such as safety gloves, a marker, a measuring tape, a saw, and sandpaper.
- First using your measuring tape or scale, measure the dimensions of the ceiling where you will place the panels. Note these dimensions down.
- Next, place the acrylic panel on a smooth surface so that it is easier to work with. Put on necessary safety equipment and get your working equipment ready.
- Using a pencil or marker, follow the noted dimensions and mark the points to be cut.
- Now trace out the lines with the knife or saw while making sure you have firmly grasped the plastic with the other hand.
- After tracing it out, make a swift pull motion to separate the panel.
- Smoothen out any rough edges on the plastic with sandpaper.
- You can now place this panel on the ceiling. To cut another panel, you need to repeat these steps.
Ceiling Panels for Different Types of Ceilings:
Some people enquire about ceiling panels and how they work for different ceilings, and what to do for ceiling fans.
In the case of flush mount vs downrod ceiling fans, it is easier to cut and install panels for flush mounts since they are recessed. For downrods, you will need to consider the rod when mapping out the panel.
How to Finish the Cut Edge?
After cutting the plastic ceiling light panel, it’s important to finish the cut edge to achieve a smooth and professional look. Here are some steps to follow:
- Sand the cut edge using fine-grit sandpaper or a sanding block to remove any rough edges or burrs. Move the sandpaper in a smooth, circular motion until the edge is smooth and even.
- Clean the cut edge with a clean, dry cloth to remove any dust or debris created by the sanding process.
- If desired, you can use a plastic edge trim to cover the cut edge. Simply apply a small amount of adhesive to the edge of the panel and press the trim firmly in place.
By following these steps, you will ensure that your final result looks professional and will protect against any sharp edges that could pose a hazard.
Summary
In conclusion, cutting plastic ceiling light panels is a straightforward task if you have the right tools and follow the proper steps. With this comprehensive guide, you now have the knowledge to tackle this project with confidence and achieve a professional result.
Whether you are installing a new light fixture or upgrading an existing one, by following this guide, you can achieve a clean and precise cut every time.