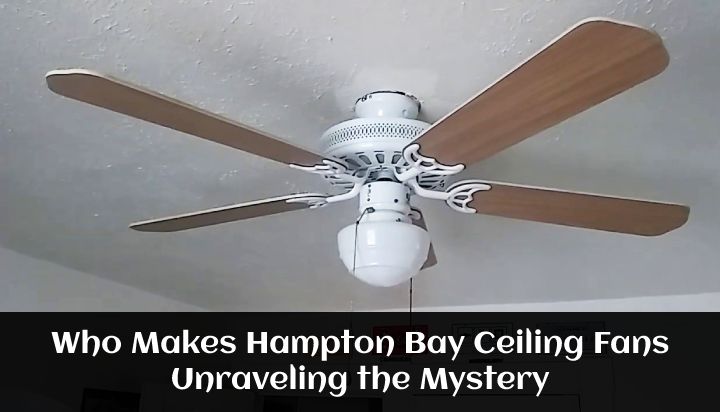
Are you tired of dealing with a dimly lit room because of a faulty bulb in your Hampton Bay ceiling fan? Replacing a bulb in your ceiling fan may seem like a simple task, but it can become a hassle without the proper steps.
This article provides a detailed full guide on how to replace the bulb in a Hampton Bay ceiling fan, covering every step. The guide includes instructions on how to remove the light kit and replace the bulb.
By the end of this guide, readers will have the necessary information and knowledge to replace the bulb in their Hampton Bay ceiling fan with ease and confidence.
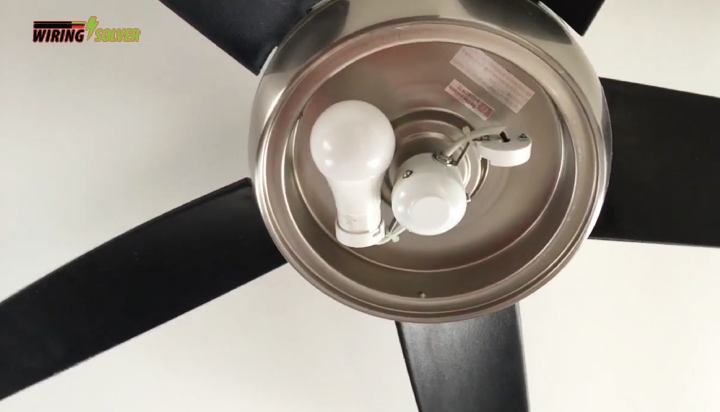
What Kind of Light Bulb Does the Hampton Bay Ceiling Fan Use?
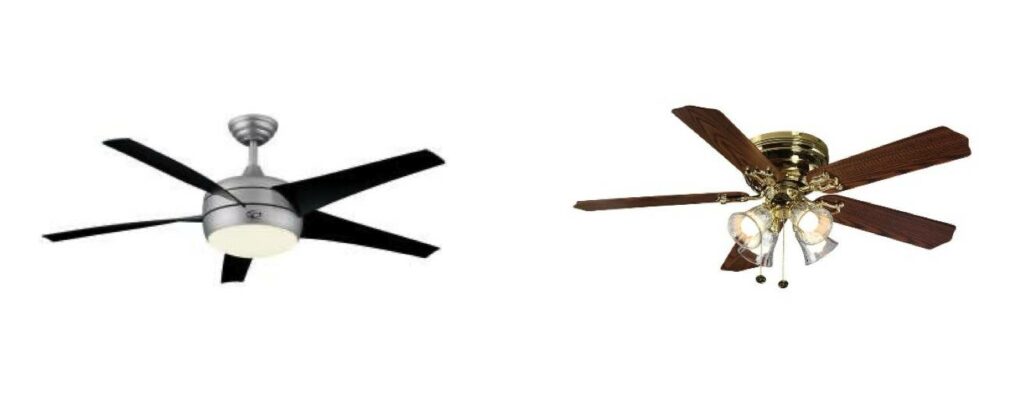
The Hampton Bay ceiling fan uses spiral based bulbs. There are different sizes of those bulbs that are used in the fan. The bulb is placed in the holder and is rotated like a screw to attach it to the holder.
There are different sizes of the bulb available in the market, named- Candelabra, Intermediate and Medium sizes.
The Intermediate and Candelabra are used mostly in the Hampton Bay ceiling fans for their convenient size and luminosity.
How to Replace Light Bulb in Hampton Bay Ceiling Fan?
Replacing a bulb is quite simple here. The bulb shade is first removed by opening the screws, the bulb is taken off afterward to place a new one of the same type to complete replacing the bulb.
Do not forget to attach the bulb shade after replacing the bulb inside.
Well, the main purpose of this article is to make you familiar with the replacement of the bulb in a Hampton Bay ceiling fan. So, I am going to describe the steps in more details for you to understand easily.
Hopefully this article will serve as an installation guide for you.
- First of all, turn off the switch of the fan, it is better to turn off the circuit breaker for extra safety.
- Use a ladder or a table to reach to the ceiling fan for operation.
- Take out the screws that attach the bulb shade to the main body of the fan and detach the shade.
- As I have already said, the bulbs used are spiral type. So, hold the bulb and spin it counter clockwise to detach it from the base.
- Take the new bulb and hold it on the base before spinning cock wise to attach it to the base. Make sure the bulb is attached strongly.
- Now turn on the switches to ensure the bulb is functioning perfectly.
- If the bulb is okay, attach the shade in its place to complete the replacement of the bulb.
The steps are not hard to do, right? You can try this whenever you need. But always keep your hands dry while working with electricity and take necessary precautions no matter what.
How to Replace Light Bulb in Hampton Bay Ceiling Fan?
Here are some safety precautions you should take when replacing a bulb in a Hampton Bay ceiling fan:
- Turn off the power to the fan either by switching off the circuit breaker or removing the fuse.
- Use a sturdy ladder or step stool to reach the fan.
- Avoid touching the bulb with bare hands to prevent oil residue from reducing the bulb’s lifespan.
- Wear gloves or use a cloth to handle the bulb to avoid cuts or injury.
- Secure the ladder or step stool to ensure stability.
- Avoid overreaching or standing on the top rungs of the ladder, which can cause it to tip over.
- Be cautious when handling broken glass.
- Be mindful of any loose wires and take care not to damage them.
How to Remove the Light Cover or Shade in A Ceiling Fan?
You need to take off the screws and then simply pull out the light cover. It is a very simple task.
Normally there are three to four screws found on the sides of the light cover. You just need to take them off with a screw driver.
Do not forget to hold the cover by your hand while taking off the screws. Otherwise, it may fall and get damaged.
Can I Use Regular Light Bulbs in A Ceiling Fan?
Yes, you can as long as the base size matches. But the performance depends on of your ceiling fan light wattage limit. In that case using a bulb with more watt will not be fed with enough power from the fan circuit.
How Do I Know What Is the Size and Type of The Base of The Light Bulb?
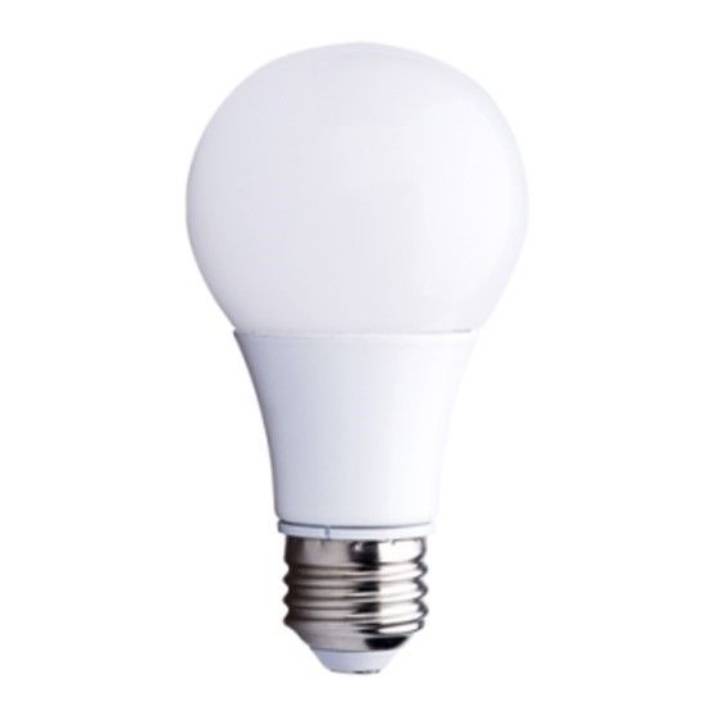
To know the size of the light base you need to look for the reference codes given in the base. The codes are like- E12, E17, E26 etc. The letter ‘E’ indicates the type of the base, while the digits indicate the size.
Knowing the correct type and size of the light is essential when you are going to replace the bulb. These codes are normally written on the holder or base of the device.
Can I Use A 60-Watt Bulb in A 40 Watt Rated Ceiling Fan?
Yes, you can use a 60-watt bulb in a 40-watt rated holder in a ceiling fan but the bulb will not be able to give its optimal output due to the scarcity of power. There will be no safety concerns in this case.
But the drawback lies in the illumination of the bulbs. The bulb will not get enough power for its maximum output. Thus, the flux will not be up to the mark.
Conclusion
In conclusion, replacing a bulb in a Hampton Bay ceiling fan is a relatively simple process that can be completed with basic tools and a little bit of know-how.
By following the steps outlined in this guide, you can safely and effectively replace a burnt-out bulb in your fan. It’s important to take the necessary safety precautions to avoid injury and protect yourself and your home.
Additionally, regular maintenance of your fan, including checking and replacing bulbs as needed, can help prolong the life of your fan and ensure it operates smoothly and efficiently.

![Fanimation Slinger V2 Remote Troubleshooting [Solved]](https://wiringsolver.com/wp-content/uploads/2022/10/Troubleshooting-a-Fanimation-Slinger-V2-Remote.jpg)
![How to Make Ceiling Fan Light Brighter? [Complete Guide]](https://wiringsolver.com/wp-content/uploads/2021/09/How-to-Make-Ceiling-Fan-Light-Brighter-Solved.webp)
