Modern architecture requires modern technology, right?
Keeping this in mind, Hunter brings remote control ceiling fans that complement modern-day living space with ambient light as well. But, how to install a hunter ceiling fan with remote? How to install a hunter ceiling fan with light?
Well, it might seem complicated but installing a ceiling fan is rather a straightforward process.
You need to remove the existing fixture first. Then, install the ceiling bracket and wire the fan accordingly. After that, install the canopy, blades, light if it’s there.
This article comes with a detailed discussion to help you install a hunter ceiling fan with remote so that you can do it right.
Let’s begin then!
Follow the Guide to Install a Hunter Ceiling Fan with Remote
As said already, Hunter ceiling fans installation isn’t as complicated as it seems. You only need to follow few easy steps as instructed in the owner’s manual with the required tools.
Tools Required
Here’s a list of tools and supplies that you need to install the hunter ceiling fan with remote to work safely and finish timely.
- Plier
- Wire stripper
- Screwdriver
- Wire tester
- Electric drill machine
- 9/64’’ drill bit
- Ladder
Once you collect all those tools, you’re ready to start with the process. Here’re the steps you need to follow:
Prepare to Get Started
Before you start with installing the fan you should make sure the fan is at a safe distance from other walls and floors. The blade tips of the fan should have at least a 30-inch clearance from the nearest obstruction.
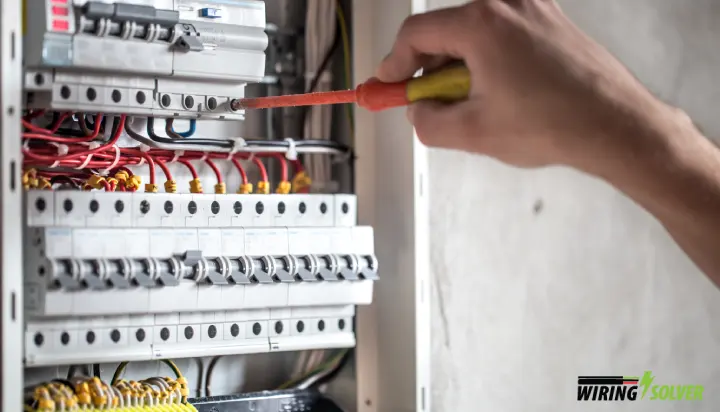
Turn off the power of both the main circuit breaker that powers the room and wall switch to ensure your safety.
If you aren’t new in the house, chances are there’s already a fan installed in the ceiling. In that case, you need to remove that fixture first. Disconnect the wires and nuts that are mounted to the ceiling.
Install the Ceiling Bracket
To ensure the ceiling fan is attached safely to the ceiling, you should the Hunter bracket kit that comes with the Hunter ceiling fan remote control.
You need to install the bracket to a box that is attached between the joints or insert it within a brace that is attached between the joints.
Here’s how to install a ceiling bracket:
- Bring out the pre-installed screws from the motor adaptor.
- Pass the wires of the fan through the downrod and tighten the downrod.
- Cut the additional length of the wires (8-inch from the downrod is recommended). Then, strip 3/8 of an inch of the wires from the top.
- Now, tighten the screws to the motor adaptor again. Then, attach the canopy that comes through the wires and downrod.
- Finally, place the downrod ball into the desired slot within the ceiling bracket.
Wiring the Ceiling Fan
Now let’s start with wiring the Hunter ceiling fan with remote control. Put the bare metal ends of the two wires together to connect with a wire nut at first. Then, rotate the nut clockwise to tighten them.
Most Hunter fans come with preinstalled remote receivers that already have receivers installed. The enhanced engineering helps to make your job simpler a lot.
If you have a single wall switch, follow the following steps:
- Connect the ground wire which is white in color from the ceiling to the ground wire of the fan.
- Connect the black wire (ungrounded) that comes out from the ceiling to the black wire of the fan.
- Connect the green, green/yellow stripe, and bare copper wire with the wire nut that comes from the ceiling, downrod, and ceiling bracket respectively.
- You don’t need the blue wire that comes out from the fan for single switch wiring.
If you have a dual wall switch, you have to connect the other ungrounded wire to the blue wire from that fan with a wire nut. Other wirings will just be the same.
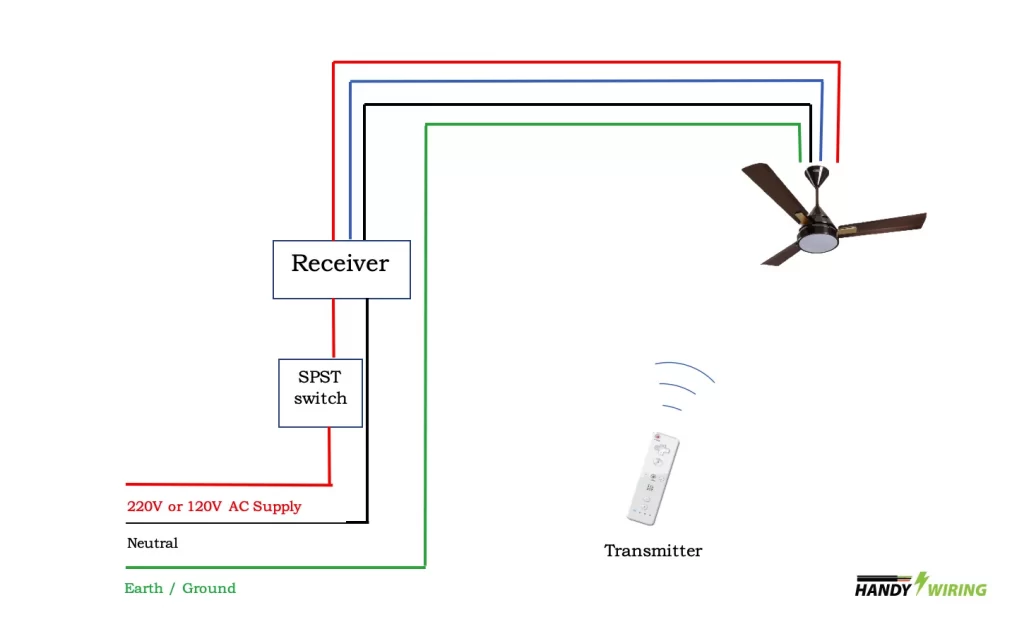
Now, if your Hunter fan doesn’t have a remote receiver pre-installed, you’ll need to wire it with a separate remote receiver. Here’s how to do it.
- Connect the yellow wire from the receiver to the black wire of the fan.
- Connect the blue wire of the fan to the blue wire of the receiver.
- Connect the black wire from the receiver to the black wire of the ceiling.
- Now, connect the grounded white wire from the ceiling to both the white wire of the receiver and fan.
- Finally, connect the three wires coming from the ceiling, downrod, and ceiling bracket.
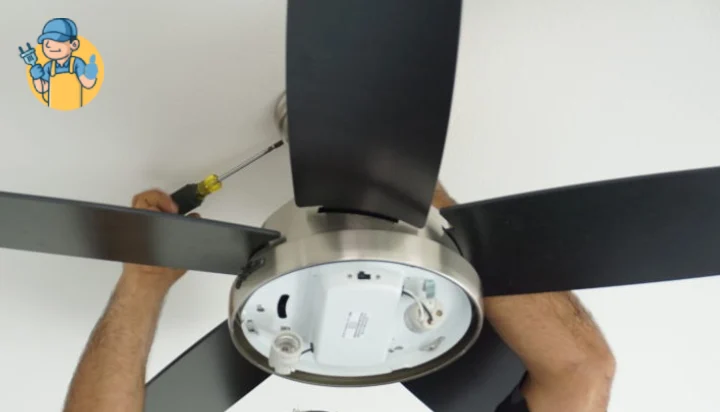
Install Canopy or Motor Housing
You need to install a canopy if the ceiling fan you’ll use requires a downrod. To install the canopy, first, place the wires into the junction box. Then, lift the canopy into the desired place to insert and tighten canopy screws with a screwdriver.
On the other hand, for a low profile Hunter Ceiling Fan installation, you’ll need to install the motor housing. For this, tuck the wire nuts together into the junction box.
Then, pick up the motor housing and make sure its screw holes are aligned with the holes of the ceiling bracket. Then, insert and tighten motor housing screws.
Install Fan Blades
Once you’re done with installing canopy or motor housing, it is time to attach blades. Hunter fans come with all the required instruments to fix the blades.
At first, insert the grommets into the holes of each blade. Then, secure the blades to their respective blade irons with screws.
After that, place the blade arms to the motor and tighten the connection with respective screws.
Install Light
Chances are, your Hunter ceiling fan remote control comes with lighting. You need to install the lighting kit now.
But before that make sure to check whether the fan you are fixing has a quick connect feature or not. You can check it by seeing the switch housing of the fan.
Fans with the Quick Connect feature have a specific locking mechanism which is located in the switch housing. They also have rings surrounding the housing.
Install Remote Control
Well, Hunter fans offer a variety of remote control features while handheld remote and wall controls come pre-installed with the fan.
A wall control remote is installed at the wall switch. It makes it easy for everyone to remember where to control the speed of the fan.
On the other hand, handheld Universal fan remote control allows you to control fan speeds right from the bed or anywhere in the room.
Some smart Hunter fans remote comes with a feature to control the speed via your smartphone using the SIMPLEconnect app.
That’s how you install Hunter ceiling fan with remote successfully. The process takes around 1-1.5 hours depending on your expertise.
However, if you aren’t confident enough to install the fan, contact with the nearest certified professional electrician.
Also Read: Hunter Fan Remote Not Working – What To Do?
Finally
With technological advancement, we want to control everything with our fingers in the most effective and easiest ways. Hunter fans are just the right ones to grab if you want to add modern technology with aesthetics. So, I hope this article helps you learn how to install a hunter ceiling fan with remote properly. Thanks for reading so far.