Ceiling fans are a great way to reduce energy costs and keep your home cool during the summer months. However, if the pull chain on your ceiling fan light breaks, it can be a major inconvenience.
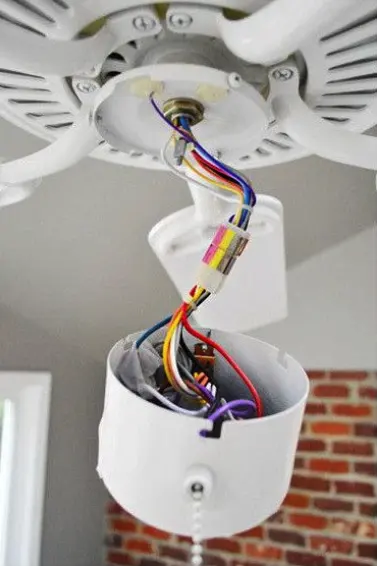
The first step is to locate the fan’s switch housing. Once the switch housing is located, open the plastic box and inspect the condition of the pull chain. If the chain has simply broken off, then the repair will be relatively simple. All you need to do is purchase a replacement pull chain that matches the one you have.
Fortunately, it is usually quite easy to repair a broken pull chain. This article will provide clear, step-by-step instructions on how to fix a pull chain on a ceiling fan light.
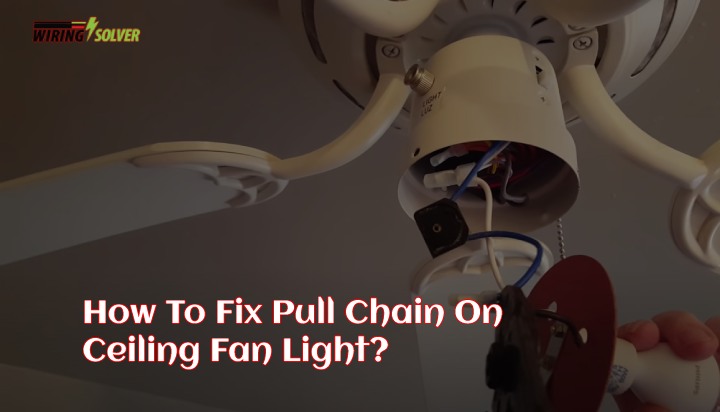
How to Fix Pull Chain on Ceiling Fan Light?
It’s easy to fix a ceiling fan light pull chain that’s been damaged due to use. This guide below will show you everything in detail with the necessary steps. Make sure to turn off the power.
It is a crucial step and common step. From how to fix pull chains or how to convert 3 phase to single phase 220v, this step is a must.
Removing the Fixture Housing
The fixture must be taken apart beforehand before moving on to the next procedure. This is usually done because it makes the installation easier, as well as provides you with access to the switch.
- Set up a ladder or a stool, that elevates you to the necessary height to proceed with the operations with ease.
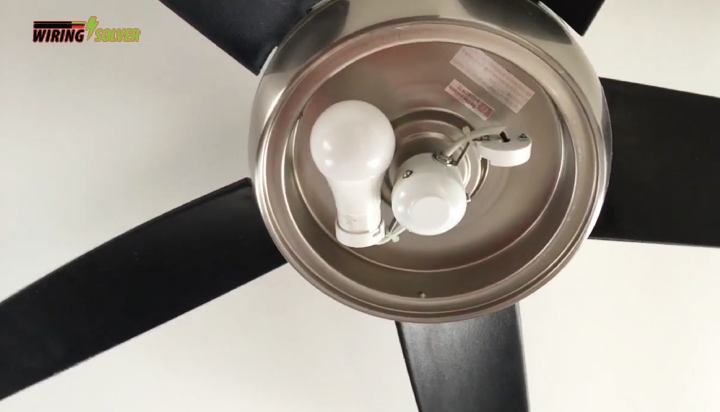
- Remove the bulb beforehand to prevent any damage to it. Simply unscrew them and place them on a towel or soft material somewhere.
- You may use gloves as oftentimes these bulbs are pretty heated due to their use.
- A few visible screws will hold the ceiling fan’s fixture or the main housing where the wire is kept, together. Remove these screws with a screwdriver, releasing the fixture so you can examine the wire and switch.
- Place the screws and detachable fixture components in a secure place until you’re ready to reconnect them.
- Look for a tiny nut on the fixture’s outside. To get access to the ceiling fan pull chain switch, unscrew this nut entirely. Place the nut in a safe place as you’ll need this to screw back the switch again.
Removing and Fixing the Broken Pull Chain
Knowing how to remove the broken pull chain is a must to know how to fix the pull chain on the ceiling fan light. You can either fix your broken pull chain or if it is completely damaged, you can replace the entire switch.
- If the chain appears to be changeable, instead of acquiring a new one, use a longer piece of chain you currently own to repair it.
- If the switch appears to be damaged, get a replacement from a nearby hardware store.
- Pop opens the switch using a small screwdriver and remove it.
- Remove the spring and the broken piece of chain attached to a disc from the switch’s contents.
- Using a screwdriver, pry the broken chain off the disc.
- Replace the small broken chain with a longer chain that will extend through the fixture, just like you did with the original chain.
- Replace the spring and chain that are attached to the disc in the switch. Pull the chain through the hole in the switch to make it easier to pull on.
- Replace the switch in the wires in the same manner as you removed it. Make sure the switch is near the location where you unscrewed the nut from the fixture’s exterior.
- To keep the switch in place, tighten the nut.
If you’re wondering, how do you fix a ceiling fan that won’t pull the chain, you can try these steps to fix the issue.
Replacing the Broken Pull Chain
If your pull chain switch is damaged and cannot be repaired, you have to replace the switch entirely. You can easily buy a similar switch from your local hardware store.
- Remove the wires that are connected to the old switch. The wires will be disconnected from the old switch by pulling or twisting off the connections that keep them together.
- Pull out the connections on each wire connected to the old switch, and then remove the old switch.
- To connect the wires, remove 0.5–0.75 in (1.3–1.9 cm) of insulation.
- Remove the insulation from the ends of the wires attached to the new switch with a wire stripper, cutting through the insulation with the stripper before dragging it towards the wire’s end to remove it.
- Locate the old wires that your new wires will connect to and securely twist them together clockwise. Many cables are color-coded, making it simple to connect the right ones.
- Place the section of the fixture you removed on top of the wiring once you’ve reinstalled the switch. Hold it firmly while using a screwdriver to replace the screws.
If you want to know how to wire a ceiling fan with light on a 3-way switch, these steps might be different in your case.
Summary
In conclusion, repairing a broken pull chain on a ceiling fan light is a fairly straightforward process. As long as you have the right tools and the correct replacement part, you should be able to replace the pull chain in no time.
With just a few simple steps, you can have your ceiling fan light working as well as new and be back to enjoying the benefits of your ceiling fan once again.