Running an extension cord from inside to outside can seem like a daunting task, but it’s actually a simple DIY project that can be accomplished with just a few basic tools and some careful planning.
There are 5 basic steps to complete this process. By following these 5 steps, you’ll be able to successfully run an extension cord from inside to outside and power your outdoor projects with ease.
In this article, I will guide you step by step through the process of running an extension cord from inside your home to the outside, including tips on selecting the right cord and how to protect it from damage.
Step by Step Process of Running Extension Cord: Inside to Outside!
Not only for yard parties but you sometimes also need to add a generator outside! For this, you will need to learn the process of extending the extension cord outside!
Step 1: The Locator Hole
Once you have decided to run the extension cord from inside to outside, you have to purchase the right extension cord. The larger the cord, the more the safety!
You can look into the 12-gauge extension cords as they provide amplified protection when it comes to the outdoor. After that, you need to search the cable path. In this case, we suggest you find the easiest path.
All you need is your cable to reach the outside wall! You can also check the crawlspace too! When you have found the area, you have to start drilling and get a locator hole. Always remember that you need a long drill for the job.
If you mistakenly drill a place, all you need is to get a LEB fitting search for another area to run the power! Once you get it, go for the same drill and drill a locator hole there.
Step 2: Adding the Remodel Box
You have already made a locator hole in your preferred area. Now, you have to place the remodel box here. If you have done it before, you already know how to do it.
But for the newbie, we will discuss it in short. Here, you will need a reciprocating saw. If you don’t have one you can also get your hands on a keyhole saw. Now, all you need to do is cut a hole in the box!
After cutting the hole for the remodel box, you need to get the cable through that hole. And eventually, the hole will take the cable to a remodel box.
After you have run taking the cable, move forward to installing the box carefully. An additional extension ring is required here. Also, if you are using PVC, you will need a terminal adapter. Prepare all your necessities before you sit for work.
Step 3: Dig Below the Box
Now, go to the outside wall and check if the box is installed properly or not. Here, check under the box. You have to dig a trench here! Yes, you heard what we said! Right below the box, you have to dig a trench for the local codes.
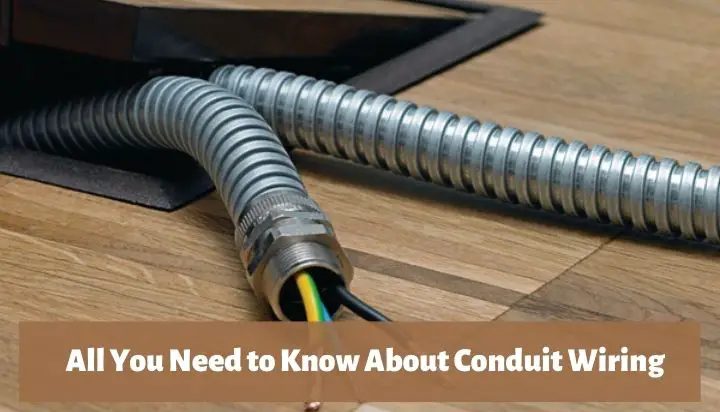
However, ensure that there will be no trouble in the future for digging that specific area. In this position, you will need PVC. In other cases, you can settle for rigid metal conduit too.
All you need is to add the length of the pipe to a sweep! First, with the help of the necessary gear, you have to cut it. Then you need to add it and then with the help of straps, you must anchor the conduit!
Step 4: Work with the Wires
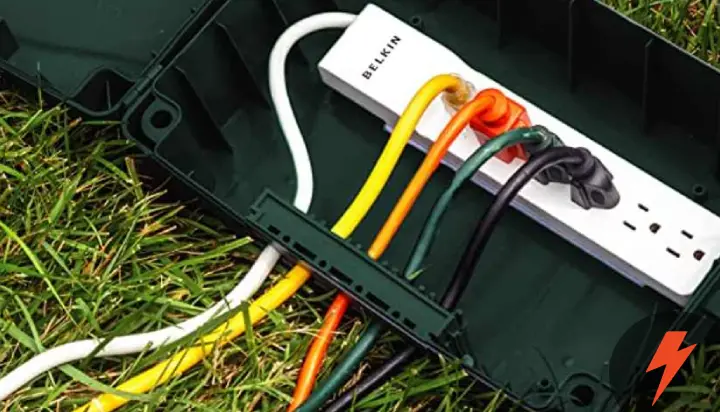
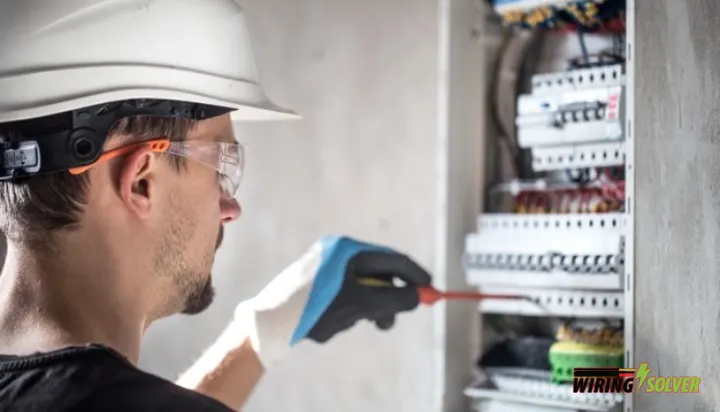
You are almost done; all you got to do now is to connect the wires! First, go through the power circuit and shut off the power. Then, check the black and white wires. You have to connect them carefully.
These will start at the power source and will go to the LINE terminals of the GFCI receptacle.
Once you are done running the cable, you have to add the wires to the LOAD terminals! In this way, you can certify GFCI-protected service. Now, you are done, you have to go through the power circuit and connect the power.
Step 5: Cover It Up
Once you have connected the power, you can add the cover of the box. The in-use cover can help you in the long run. This will keep the receptacle safe from water or moisture from the outside.
Even if the cord is connected and there is moisture outside, it can safeguard your receptacle without any complication! And now, it is time for you to enjoy any outdoor party with lights and necessary attachments outside!
Be sure to not to keep the extension cord plugged in at all times.
How to Protect the Cord from Damage and Weather?
To protect an extension cord from damage and weather, follow these steps:
- Use a Protective Cover or Hose: Cover the cord with a protective cover or hose to shield it from the elements, such as rain and sun.
- Secure the Cord with Stakes or Ties: Use stakes or ties to secure the cord to the ground, so it doesn’t get tangled or damaged by passing foot traffic or lawn equipment.
- Elevate the Cord Off the Ground: Raise the cord off the ground to reduce the risk of water damage and prevent it from becoming tripping hazards.
- Keep the Cord Dry and Out of Puddles: Avoid running the cord through puddles or areas where it is likely to get wet.
- Store the Cord Properly When Not in Use: When not in use, store the cord in a dry place to prevent damage from moisture or other environmental factors.
- Regular Inspection for Signs of Wear and Tear: Inspect the cord regularly for signs of wear and tear, such as fraying or cracking if you use the extension cord for a long time.
By following these simple steps, you can ensure that your extension cord remains in good condition and provides a safe and reliable power source.
Conclusion
In conclusion, choosing the right cord and properly protecting it from damage and weather are essential to ensuring a successful outcome.
By following the steps outlined in this article, you’ll be able to run an extension cord from inside to outside with ease, and enjoy the benefits of having a secure power source for your outdoor items.
Whether you’re powering any outdoor item, with the right tools, planning, and care, you can successfully run an extension cord from inside to outside and enjoy the benefits of a safe and reliable power source.

![How Does An Electric Doorbell Work? [Explained]](https://wiringsolver.com/wp-content/uploads/2022/06/How-Does-An-Electric-Doorbell-Work.jpeg)
![What Is Black Wire in Electrical Outlets? [Explained]](https://wiringsolver.com/wp-content/uploads/2023/01/What-Is-Black-Wire-in-Electrical-Outlets.jpeg)