To perform the GFCI outlet troubleshooting procedure, one will need the RESET button in most cases. And, when this button won’t stay, it indicates something is wrong.
There are 4 techniques that can help to solve the GFCI outlet RESET button won’t stay in when pushed issue effectively:
- Test the circuit breakers.
- Change the brown fuse.
- Inspect and fix the bad connection.
- Replace the GFCI outlet.
To know the causes and solutions in detail, continue to read as I’ll share the instructions that you can follow easily!
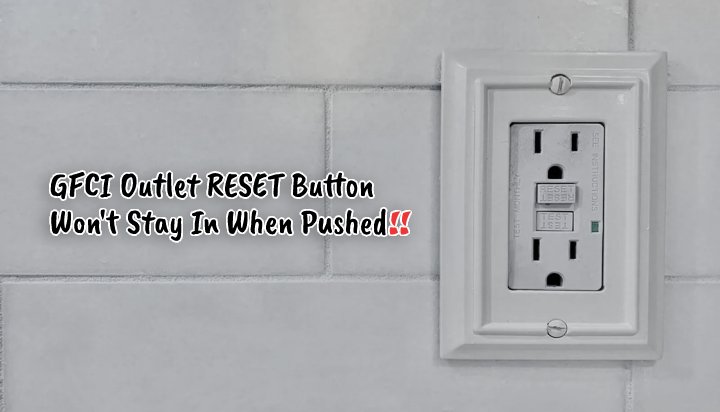
Find Exactly Why GFCI Outlet RESET Button Won’t Stay In When Pushed
There are 3 specific reasons why the GFCI outlet’s RESET button won’t work or stay in no matter how hard you press it. Let me show you all the possible causes below:
Cause #1: Tripped Circuit Breakers
Unlike regular ones, the GFCI outlet offers a lockout option where the RESET button won’t operate if the power not transferring. To know the difference between the GFCI vs regular outlet, check here!
Cause #2: Blown Out Fuse
Another reason the RESET button of the GFCI outlet won’t stay in if you push it is due to the burnt or bad fuse. It causes the GFCI lockout option to trigger and prevent resetting the system no matter how many times you press the button.
Cause #3: Bad Connection
The GFCI RESET button won’t push in if the wiring on the LINE and LOAD leads isn’t done properly. It can also happen when the GFCI can’t shift its internal test meaning no protection even if the connection has a ground fault.
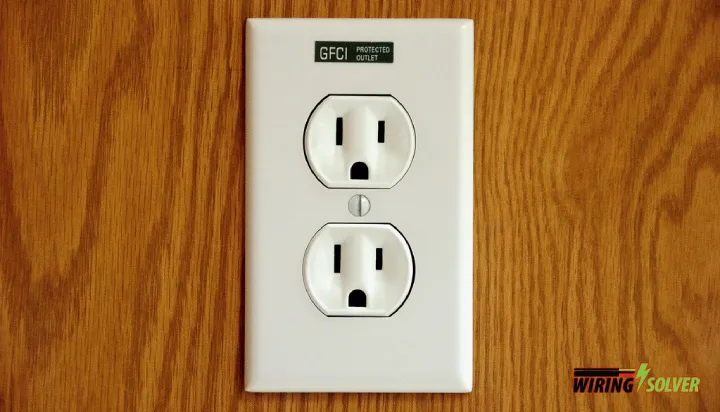
Cause #4: Faulty GFCI Outlet
A lot of times the bad or defective GFCI outlet causes the RESET button to not stay in when pressing it. In that case, you won’t see the indicator light when hitting the TEST button.
How Do I Fix My GFCI That Won’t Reset When Pressed?
If your GFCI outlet doesn’t reset even if pressing the button, then it’s time to perform the given 3 troubleshooting methods. Here’s the detail:
Solution #1: Check The Circuit Breakers
- Locate the circuit breakers or fuses in the main electrical panel at your house. It is mostly located in the basement, garage, or other rooms.
- After locating the place, remove the cover from the electrical panel.
- Unplug all the computers or other connected electronic devices.
- Turn off the circuit breakers. To do that, look for a breaker handle that isn’t straight up or looks dissimilar to most.
- Again, turn them on.
- Do this a couple of times to ensure that the tripper circuit breakers are perfectly turned on.
Solution #2: Replace The Blown Fuse
- Turn off the power supply.
- Bring a flashlight to locate the spot of the fuse box in the room where the GFCI outlet is.
- Then, find the fuse of the GFCI outlet.
- Inspect the fuse without touching it. If it seems brownish and smells like insulation burnt, then remove the fuse by unscrewing.
- Get a new fuse matching the amperage and insert it in the spot using the screw.
- Turn on the power supply.
- Test it out.
Solution #3: Solve The Bad Connection
- Turn off all the electronics and devices in the house.
- Shut the main circuit breaker.
- Go to the GFCI outlet area and take a flashlight.
- Take out the plate and 2 screws using a screwdriver.
- Separate the GFCI switch from the outlet box.
- Check the terminals and wires (which are connected) carefully. If you find a blackish shade conductor, rust, broken, or burnt marks on one or more wires, then mark them.
- Use the screwdriver to remove the screw that holds the problematic wires.
- Take a wire cutter and cut them out.
- Strip the opening thermal of the wires that you’ve cut.
- Reinstall them in the belonging terminals and tighten out the screws with the screwdriver.
- Align the GFCI outlet into the outlet box.
- Insert 2 screws and tighten them out. Be sure to attach the plate.
- Turn on the circuit breaker.
- Test if the outlet RESET button works or not.
Solution #4: Replace GFCI Outlet
- Turn off the circuit breaker.
- Use a flashlight or chargeable lamp to see the GFCI outlet.
- Remove the plate and 2 screws.
- Then, detach the GFCI outlet.
- Separate the outlet from the outlet box so that you can see the wiring harness.
- Cut all the wires using the wire cutter and strip the wires using a wire stripper.
- Separate each wire from the other.
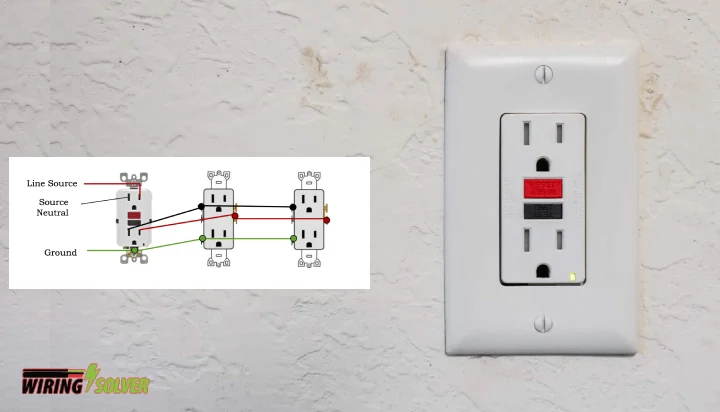
- Insert new GFCI outlet.
- Connect the LINE cable to the LINE terminals. Just insert the white wire into the white terminal (silver) and the black wire into the hot terminal (brass).
- Connect the 6″ bare copper or green 12 or 14AWG wire to the ground terminal on the GFCI outlet. If you can’t see the ground terminal, then connect the LINE cable’s bare copper wire to the ground terminal on the GFCI receptacle.
- Insert the same wire into the ground terminal on the box.
- Connect the end of 2 of the ground-connected wires to the LINE cable’s bare copper or green wire with a separate wire conductor.
- Secure all the connected wires with wire tubes.
- Tug the wires inside and insert the GFCI outlet. Put on 2 screws and a plate.
- Turn on the main circuit breaker and test it out.
Keep In Mind: Be sure to check the wiring a GFCI outlet with 4 wires or more if your one doesn’t contain 2 wires.
Frequently Asked Questions
1. What happens when a GFCI outlet won’t reset if pushed?
If the GFCI outlet doesn’t reset, it won’t work when facing issues. Most of the time, the simple reset helps to fix any errors.
2. How do I reset a GFCI outlet?
It’s easy to reset the GFCI outlet. You only need to click on the TEST button and then hit the RESET button. Wait for the RESET button to pop out. It indicates the successful reset process.
3. How long does it take for a GFCI to reset?
It basically takes not more than 30 – 60 seconds to perform the reset procedure on the GFCI outlet as the process is simple.
Wrapping Up
When you discover that the GFCI outlet RESET button won’t stay in when pushed, I hope this straightforward solution that requires no special gears will come in handy.
However, if the GFCI outlet itself gets bad, you’ll need to buy a new one that costs around $150 – $300 at max. You may also need some help from a professional to replace the outlet.
Now that you know the causes and solutions clearly, be sure to try the above techniques to fix the problem. I will be back with similar guides soon!