Leviton dimmer switches are quite popular due to their functionality. However, users might not find the confidence in themselves to install one themselves.
But the procedure of a Leviton dimmer switch wiring is not that hard once you have a full grasp of the complete procedure.
The first step is to gather the necessary tools for the task. The next step is the same as it always is with all other electrical endeavors. As it is extremely dangerous and risky to work with live wires, turning off the power is the first step in this process. Next comes the wiring of the switch. And finally, troubleshooting.
I will provide detailed instructions on the entire procedure of wiring a Leviton dimmer switch along with providing a diagram of the installation for the convenience of the reader.
Steps to Wiring a Leviton Dimmer Switch
The steps to wiring a Leviton dimmer switch will be provided below in a step-by-step manner for the ease of the reader. A wiring diagram for the entire task will also be provided for easy visualization of the procedure.
1. Gathering Necessary Equipment
To properly install a Leviton dimmer switch, one must gather a few necessary tools for the task. Without these tools, one might find the task needlessly difficult to complete. A list of some of the common tools is provided below.
Which tools do I need to install a Leviton Dimmer Switch?
- Rubber gloves and rubber boots
- Voltage testers
- Screwdrivers
- Extra wires
- Electrical tape
- Wire strippers
- One 3-way switch
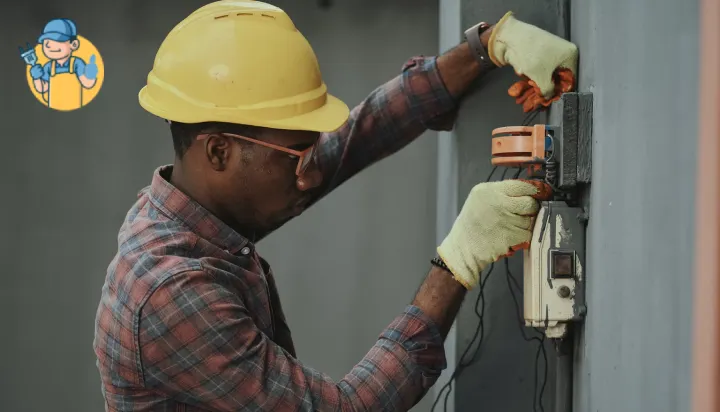
2. Turning Off the Power
As it is extremely risky to work with live wires, you must ensure that the power has been turned off before proceeding with the installation of the Leviton dimmer switch. As you will have to work with multiple separate circuits, make sure to turn off the power to each of them.
3. Removing the Old Switch
In case you wish to replace an old switch with the Leviton dimmer, you will first need to remove the existing switch from the panel or the switchboard. The process is quite simple.
How to remove the old switch from the switchboard?
- Wear appropriate safety gear (rubber gloves and boots) before interacting with the main panel.
- Locate the main panel of your household. You could either shut off the power of your entire house, or you could choose to turn off the appropriate breakers instead.
- Locate the specific breakers in the latter case, and flick the breaker to cease the power supply to those circuits.
- You could check the LED indicators of those circuits to ensure whether the power has been properly shut down or not.
- However, it is recommended that you use a voltage tester for the task. If there is no voltage, then the circuit is safe to work with.
- However, if any voltage is present, you may have switched off the wrong breaker, and will need to find the appropriate one and then turn it off.
- Make sure that the power is turned off at your fuse box before you touch the original light switch.
- Once the power supply has been turned off, check the light switch.
- If you plan to reuse the switch plate, unscrew it and store it.
- Some Leviton dimmers are designed to suit traditional plates, however, the majority of them come with a plate that fits the new dimensions. To be sure it will fit, check the dimensions on the replacement dimmer’s packaging.
- Remove the rubber insulation from the wires by opening the Leviton dimmer switch. To achieve a tight seal with the wall wires, expose at least 1 to 2 inches of copper wire.
- Carefully untangle the wires from the rubber portion and remove the old switch from the wall.
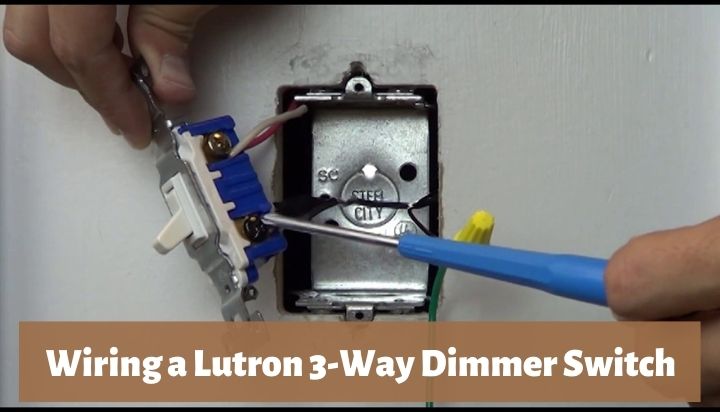
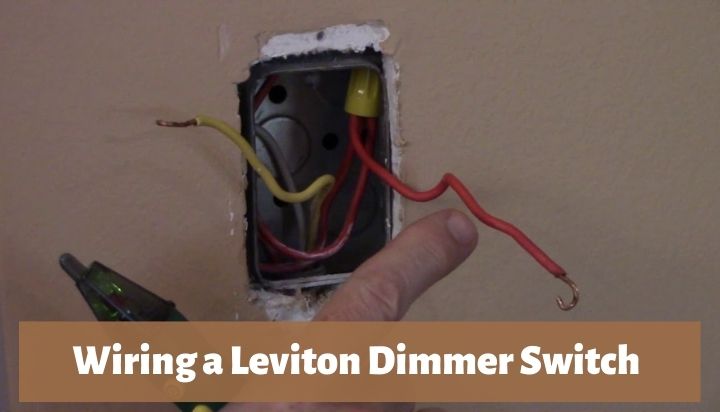
4. Wiring the Leviton Dimmer Switch
The wiring is the most crucial step of any electrical installation procedure, as any wrong connection can lead to a serious problem. The same goes for the wiring of a Leviton dimmer switch.
The wiring procedure of a Leviton dimmer switch along with the appropriate diagram is provided below.

How to wire a Leviton dimmer switch?
- Wear the necessary safety gear before proceeding.
- The first step is to wire the Leviton Dimmer switch. Connect the ground to the ground terminal of the switch.
- Connect the black and red wires to the respective terminals according to the figure provided above (Fig 1).
- The next step is to wire the additional red wire to the right terminal of the switch, above the ground terminal.
- Now comes the time to wire the second 3-way switch. Connect the red wire coming out of the right side of the Leviton dimmer switch to the top left terminal of the second 3-way switch.
- Connect the second red wire to the bottom left terminal of the second 3-way switch.
- Connect the ground terminal to the ground wire (Green).
- Finally, the black wire from the second 3-way switch goes to the light bulb and the white neutral goes directly to the fixture as well.
- Make sure all of the connections are made securely and all exposed wires are taken care of with wire caps or electrical tape so that no shots can occur.
Troubleshooting
Several steps need to be followed to properly troubleshoot the dimmer switch after installation. It will ensure that the Leviton dimmer switch wiring was done properly throughout the procedure. You should also test the 3-way switch.
The steps to troubleshooting the Leviton dimmer switch are as follows.
How to troubleshoot a Leviton Dimmer switch after installation?
- Turn the power back on from the main panel by flicking back the circuit breaker for the circuit which was turned off at the start of the wiring process.
- Make sure that the power has come back on in the circuit using the help of the non-contact voltage tester.
- Operate the switch to ensure that the appliance or the light turns on properly and the switch works as intended without any problem.
- If the switch works properly then the installation was done properly.
- However, if you find that the switch is not working as intended, there may be something wrong with the wiring of the switch, and may need to be rewired.
- In such a case, turn the power off again and rewire the switch according to the provided diagram above.
Summary
If you wanted to know about the Leviton dimmer switch wiring procedure, this article should have answered your query thoroughly. With the help of the diagram and the instructions, you can wire it yourself.
If you find that the installed Leviton dimmer switch does not work as intended even after proper installation was done, there may be some other underlying issue behind the problem. In such a case, consult a professional electrician for a proper diagnosis of the matter.
![How To Wire A 240v Double Pole Switch? [Explained]](https://wiringsolver.com/wp-content/uploads/2022/09/Wiring-a-240V-Double-Pole-Switch.jpg)