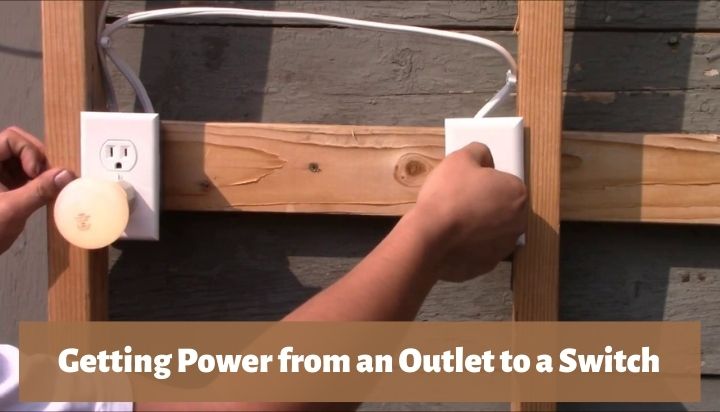
Switches require to be hooked onto a power source in order to supply power to any appliance. But sometimes, a power source might be hard to find. Therefore, one might opt to get power from an outlet nearby.
But, how to get power from an outlet to a switch?
It is quite easy to connect a switch with the power from an outlet. The first step as always is to gather a few tools for the task. Then you should turn off the power, wire the necessary components, and troubleshoot. And you should be done.
In the course of this essay, I will provide you with a comprehensive description of these methods so that you will be able to independently install a switch that uses an outlet as its’ source of electricity.
Getting Power from an Outlet to a Switch:
1. Gathering Necessary Tools
There a quite a few different tools that you would need before proceeding with the installation of the switch. These tools and equipment are mentioned below.
Which tools are necessary to wire a switch to an outlet?
- Rubber Gloves
- Rubber Boots
- Screwdrivers
- Wire Strippers
- Voltage Testers
- Electrical Tape
- Extra Wires
2. Turning the Power Off:
It is always the first and the most crucial step to turn off the power before proceeding with any operations that concern electricity. The same goes for installing a new switch with the power from an outlet.
How to turn off the power supply?
- If the compliance has a local circuit breaker you have to correctly identify the exact one that supplies power to the outlet.
- Turning off the power from the main panel is a more secure alternative.
- Flip the switch of the certain breaker.
- Check the LED indication to ensure there is no electricity to the outlet.
- If there are no indicators, you can examine the circuit with a volt meter, an ammeter, or a non-contact voltage tester as mentioned above.
3. Wiring the Switch with the Power from the Outlet
If you wish to learn how to get power from an outlet to a switch, you must pay close attention to the wiring of the installation. I will provide the step-by-step instruction along with a diagram below.

Steps to wire the switch with the power from the outlet:
- Make sure that the power is turned off once again, using the voltage tester.
- Take the outlet out of the wall or disconnect it from the switchboard.
- In order for it to be able to reach the switch, you will need two lengths of wire that are a respectable length.
- It is necessary to strip each wire appropriately in order for them to be securely secured.
- Join the hot wire to the terminal that is labeled “hot” on the outlet.
- Establish a connection between the switch’s neutral terminal and the neutral wire.
- Connect the other end of the neutral wire to the neutral terminal of the appliance using a direct wire connection.
- The other end of the hot wire needs to be connected to the switch.
- Join the opposite end of the switch to the device being controlled.
- Make certain that the connections are built with the highest level of safety in mind.
- After the installation is complete, any exposed wiring should be covered with electrical tape to prevent the possibility of short circuits occurring.
Troubleshooting
In order to ensure that the switch was installed correctly, the very last thing that must be done is to perform a simple troubleshooting procedure. Troubleshooting the installation allows you to simply diagnose any difficulties that may have occurred. The steps are outlined in the following.
How to troubleshoot the installed switch?
- Turn the power on from the circuit breaker or the main panel.
- Make use of the voltage tester to validate whether or not the power has been restored.
- Make sure that the outlet works properly. You can test this by plugging in any appliance that you choose.
- If the appliance functions as it was designed to, then the installation was carried out in the correct manner.
- If this is not the case, you may need to cut off the power in order to do a fresh inspection of the wiring in accordance with the schematic.
- If this is not the case, you may need to cut off the power in order to do a fresh inspection of the wiring in accordance with the schematic.
- After the rewiring is complete, you should perform additional troubleshooting to ensure that the installation was carried out correctly.
Summary
I hope after reading this article, you have learned how to get power from an outlet to a switch. It is a simple installation, and with the help of this article, you can do it yourself.
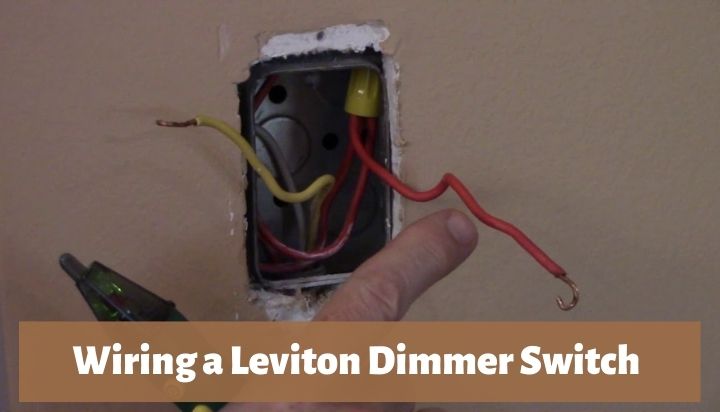
Make sure to follow the diagram appropriately. And one small note, if you wish to install any special type of switches, such as dimmers or 3-way switches, the process may differ.
References:
![How Many Ways Can You Wire a 3-Way Switch? [Diagram & Details]](https://wiringsolver.com/wp-content/uploads/2021/10/How-Many-Ways-Can-You-Wire-a-3-Way-Switch.webp)
![Wiring a Combination Switch with 2 Wires! [Full Guide]](https://wiringsolver.com/wp-content/uploads/2022/10/Wiring-a-Combination-Switch-with-2-Wires.jpg)

![How To Wire A 240v Double Pole Switch? [Explained]](https://wiringsolver.com/wp-content/uploads/2022/09/Wiring-a-240V-Double-Pole-Switch.jpg)